Two Windows at Worcester Cathedral by Sasha Ward

The great west window: from the quire, top of left hand lights, detail from first (left) light

The west window at Worcester Cathedral was designed by George Gilbert Scott in 1875 during his restoration of the cathedral and made by Hardmans. Its subject is The Creation, with the story of Adam and Eve in the central lights. It has been recently restored and and is looking wonderful and clean, with rich colour and detail flowing across the eight vertical window lights in a pattern of circles.

Zooming in on the window in the photos above and below below, I start by appreciating the overall composition, then find my particular favourite bits which all happen to be weather related. There are the two dramatic rainbow circles (above centre), the top one ringed by angels holding rainbow globes, the bottom one ringed by another circle of red and white glass pieces falling as ice, snow, rain and hail.

Bottom of left hand lights, detail from second light

Detail from seventh light, bottom of right hand lights

The right hand side of the window features the animal kingdom and, at the top, a beautiful circle with planets, stars and comets (below right). One of the six circles next to this scene (sixth light, below) shows how the signs of the zodiac form the next ring in the overall composition, while also combining with an angel to make a wonderful picture with painted borders and flowers around the rim, a device used around every circle to great effect.

Detail from sixth light, top of right hand lights

A pattern made of circles is always a favourite with me - as described in my last blog post. However, this window is full of wonder from the angels in the top tracery (below left) right down to the bottom, where you can find the famous pink giraffe (below right).

Detail from the top tracery, bottom of central lights

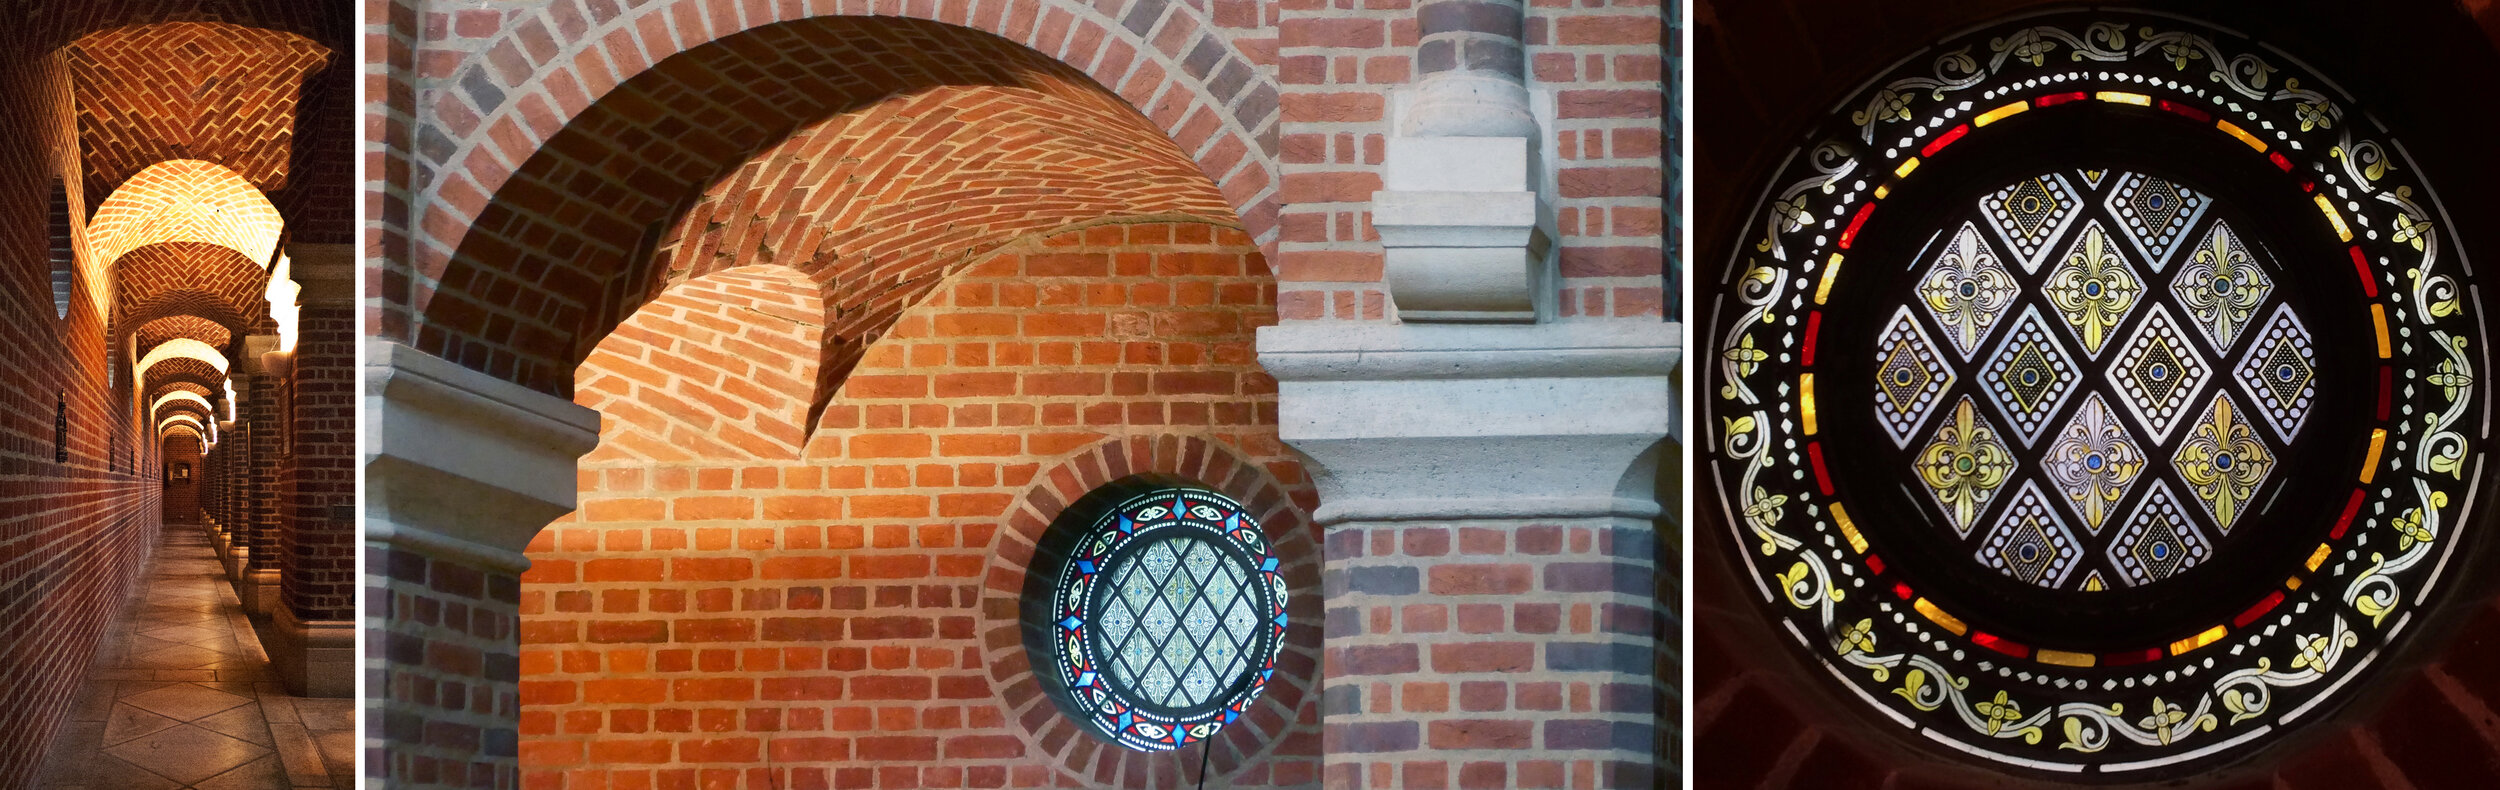
In the Cathedral cloister is a window by the artist Mark Cazalet that is etched, engraved and sandblasted on three sides of the clear glass panels that are made up as double glazed units. It’s hard to see the overall picture from the inside against the backdrop of the cathedral, and typically for a millennium window, the subject matter is varied. It includes depictions of people with some connection to the cathedral who led an inspired Christian life. The drawing and the details are amazing, there are so many different textures, marks and tones in the glass which you can see well when you look up through the panel tops to the sky. You can’t help thinking that the window needs a clearer backdrop (or a clearer design) to get a full appreciation of the beautiful drawings that are so skilfully applied to the glass.

Millennium window in the south cloister, detail from right hand panel

Detail from left hand panel, top windows right hand side

Top of second and fourth panels

All Saints, Lamport, Northants by Sasha Ward

Detail of window with the roundels spaced in squares, south and east aisle windows.

Detail of window with the roundels spaced in squares, south and east aisle windows.

I saw this church from the car, on a side road, and decided to explore. The door was boarded up and there were KEEP OUT security signs on the churchyard gates, obviously I couldn’t get inside. But I could see fantastic patterned windows even from the outside, unlike anything I have ever seen before. All the windows, except the stained glass east window, are filled with leaded lights using pressed glass roundels and other linking shapes.

Pressed glass roundel in leaded framework.

Pressed glass roundel in leaded framework.

Moving around the church, I was even more excited to see that the roundels shifted in the next few windows to form quatrefoils, then trefoils, then quatrefoils arranged differently, on stalks and looking like flowers.

Detail of window with the roundels forming quatrefoils, south aisle window.

Detail of window with the roundels forming quatrefoils, south aisle window.

Detail of window with the roundels forming trefoils, west aisle window.

Detail of window with the roundels forming trefoils, west aisle window.

Detail of window with quatrefoils on stalks, north aisle window.

Detail of window with quatrefoils on stalks, north aisle window.

I haven’t discovered when these windows were made or by which firm, nor have I found anything similar in my books or internet searches. I know that patterned windows are usually ignored in the guidebooks (for this church the windows are described as eighteenth century but I think that refers to the stonework) but they are something that really interest me. The world of pattern takes you away from a particular time and place to an enjoyment of the play of universal shapes with the circle holding a particular fascination.

Here are some of my design from the 1990s when I started many large scale designs with circles combined in different ways. The pencil sketch is for a stretch of wall 26 metres long (drawn at 1:50) around a circular entrance space, it’s still there although the accompanying hanging glass piece isn’t. The coloured sketch below (drawn at 1:300!) is the only reminder I can find of a scheme for some huge windows in a shopping centre - this design rejected for being over complicated but, in my memory, one of my best ever.

Design for sandblasted wall in entrance to Leeds General Infirmary 1997 - click to enlarge.

Rejected design for shopping centre glazing 1997 - click to enlarge

Screen printing by Sasha Ward

Left, glass panel in the factory before lamination. Right, glass samples in hands, installed glass behind me.

Left, glass panel in the factory before lamination. Right, glass samples in hands, installed glass behind me.

I get large or external commissions screenprinted by protoglassstudios.com . Although they have been making my work since 1992 and have always done a good job, there are so many things to worry about when you hand over the manufacture to somebody else. For this one, commissioned for Alexandra Lodge which is a new development by Churchill Retirement Living in Thornbury, South Gloucestershire, it was the colours. I had the design worked out (described in my blog “Cobbles” in July) and a combination of four opaque colours agreed - you can see the factory sample showing the glass version of these colours in my left hand (above right). In my other hand is a painted sample with an earlier colour palette which ended up being rather similar to the final version.

The colours I use are usually paler, and I would say subtler, than the average. In this case, I was persuaded that the design wouldn’t show up outside and from a distance unless we boosted the colours. Imagine my surprise on visiting the factory after printing but before lamination, to see how dark the colours looked (this stage shown above left) - I was convinced I hadn’t chosen that blue but it was too late to do anything about it other than start again with all three panels. But the same finished panels, as you can see installed on the face of the building below, are somewhere in the middle in terms of the colour range and look just right with the building and the planting scheme.

Left, installation of glass at Alexandra Lodge, Thornbury. Right, official photo showing glass above lounge doors.

Left, installation of glass at Alexandra Lodge, Thornbury. Right, official photo showing glass above lounge doors.

I visited the glass factory on one day during manufacture to photograph the process as far as I could. An all out yellow layer had been printed first, this background brightened the whole piece and gave the exposed laminated edges a lovely yellow and purple two tone appearance. On the day, the green cobbles had already been printed and they were doing the blues which went around the edges of some cobbles and cut across the design in flowering branches. The purple layer would be the last to be printed, you can see this stencil on the screen below right and also as the black on the films that we laid on top of the other printed colours in the bottom picture.

Left, panel 2 in front of screen for blue. Right, screen for panel 3 purple.

Left, panel 2 in front of screen for blue. Right, screen for panel 3 purple.

Left, preparing to print blue on panel 3. Right, panel 3 going through the dryer.

Left, preparing to print blue on panel 3. Right, panel 3 going through the dryer.

Left, films for screens in the factory. Right, panel 1 with film for purple overlaid.

Left, films for screens in the factory. Right, panel 1 with film for purple overlaid.

Blessed Robert Grissold Catholic Church by Sasha Ward

Entrance to the church, by architect John D. Holmes 1994.

Entrance to the church, by architect John D. Holmes 1994.

My Eucharist window for Blessed Robert Grissold Church has just been installed and blessed by the bishop in a service that commemorated 25 years of the church. The comments have been overwhelmingly positive and I feel fortunate that this modern brick church wanted a painted window and that they found me to design and make it. The focus of the window is the chalice, so I was particularly pleased that you can see it from outside (even through the textured glass that was left in place) and that it shows up so well from a distance. The parish priest was particularly pleased with the pure white of the chalice as it reminded him of the white body of baby Christ in renaissance paintings, with realistic droplets of blood on the tablecloth underneath.

Left, with Bishop William Kenney. Right, the window from a distance.

Left, with Bishop William Kenney. Right, the window from a distance.

I photographed the panels during the making stages to show how I add layers of coloured enamel, and how it changes when fired. Between the painting stages are sandblasting stages, this adds opaque texture to certain parts, and also removes unwanted fired enamel. I work out all the stages before I start work, but then unexpected things happen. Although I know what colour the enamel will be after firing, I don’t always know, despite sampling, how the colours will look together. I also make mistakes (e.g. firing on bits of the adhesive vinyl stencil or missing out a grape) which may mean a whole new stage gets added on.

Left, stage one, lower right panel. Right, stage two, fired panels cooling in the kiln.

Left, stage one, lower right panel. Right, stage two, fired panels cooling in the kiln.

Stage one (above left) shows unfired yellow enamel. The glass has been sandblasted through a hand cut vinyl stencil, some of the stencil is removed before painting, in this picture that’s the grapes, and I’m half way through removing the rest of the stencil. I handpainted some leaf and stem details in green before firing. As you can see, this pale yellow layer covers most of the glass, giving the window that bright underlying glow.

Left, stage three, lower left panel. Right, stage four, lower right panel.

Left, stage three, lower left panel. Right, stage four, lower right panel.

In stage three I added the orange layer over another vinyl stencil, you can see this clearly when the grapes and central stripes are removed (stage four above right). I added a layer of green around the border before firing - the photo of the panels in my studio window (below left) shows them after firing. It’s the same orange in the next photo (stage six below right) but shown on the lightbox where I do my stencil cutting and painting. Here the dark grapes and leaves have been sprayed with green enamel, still unfired. I thought this would be the last stage, but the greens were too similar, so I added another layer of yellow to the border and some of the grapes I’d missed out before the panels went back in the kiln for the last time (stage seven).

Left, stage five, lower panels. Right, stage six, lower left panel.

Left, stage five, lower panels. Right, stage six, lower left panel.

Left, stage seven in kiln. Right, stage seven, lower right panel.

Left, stage seven in kiln. Right, stage seven, lower right panel.

Left, stage four, top panel. Right stage five, top panel.

Left, stage four, top panel. Right stage five, top panel.

The top panel also ended up with three firings instead of the two I’d planned. In stage four (above left) you can see the unfired orange over the fired yellow and the tiny drops of dotted blood. In stage five I painted a layer of ruby enamel over the tablecloth and in the chalice - the stencil is still on in this photo. The completed panel, shown below, had an extra pink line added between the orange and ruby, and a final sandblast to keep the chalice pure and white. Three dimensional details were added with deeper sandblasted layers, while the ring of clear glass that I kept around the host is what stands out the most.

Top panel finished, left, on the lightbox and right, installed.

Top panel finished, left, on the lightbox and right, installed.

The photo of the finished panels in my studio window makes a good contrast with the one of them installed in the church. Everything looks greenish here as there is a lush garden outside, but it is also true to say that the enamel colours change in different lights and distances and that there is no one accurate colour version of the window.

Left, completed lower panels in studio window. Right, complete window installed.

Left, completed lower panels in studio window. Right, complete window installed.

St John The Evangelist by Sasha Ward

Church from the south

Church from the south

This church, at a roundabout where six roads intersect, is a Newbury landmark. It was built of local Berkshire red brick in 1955-57 to replace one completely - and uniquely in the diocese - destroyed by enemy bombs in 1943. I particularly wanted to visit when I read that the stained glass windows were made of fragments of Victorian glass from bombed out churches, including the original St John’s. These windows provide a perfect link to the history of the church as well as being one of my favourite types of decorative stained glass - just look at that startled little face below surrounded by careful borders and gorgeous pieces of pattern.

Detail from a window high up in the east end of the church

Detail from a window high up in the east end of the church

East end with painted ceilings and suspended tester: West end with flat painted ceiling and organ

East end with painted ceilings and suspended tester: West end with flat painted ceiling and organ

Other distinctive features inside the building include the tester suspended over the altar (above left) and the flat painted ceilings with lights forming part of the pattern (above right) - what a joy! The side aisles show off brickwork skills in the vaulted arches, with a row of subtle patterned stained glass roundels in the same restricted colour palette (below).

Side aisle with brickwork arches and stained glass roundels

Side aisle with brickwork arches and stained glass roundels

High up windows, mostly red and blue, one with more yellow glass

High up windows, mostly red and blue, one with more yellow glass

All of the fragment windows are in the east end of the church and high above your head. They are attributed to the church’s architect Stephen Dykes-Bower and the stained glass designer A.E. Buss and were made by the firm of Goddard and Gibbs in Shoreditch. The combination of patterned borders and geometric medallion shapes with the scraps of faces, limbs, inscriptions, buildings and the like is expertly judged. I love the way that order has come from the chaos of the broken fragments, with colours grouped together to make a set of windows that are absolutely perfect for this amazing building.

Two of the three arched windows above the altar

Two of the three arched windows above the altar

Detail from the third window above the altar with expertly arranged fragments and faces.

Detail from the third window above the altar with expertly arranged fragments and faces.