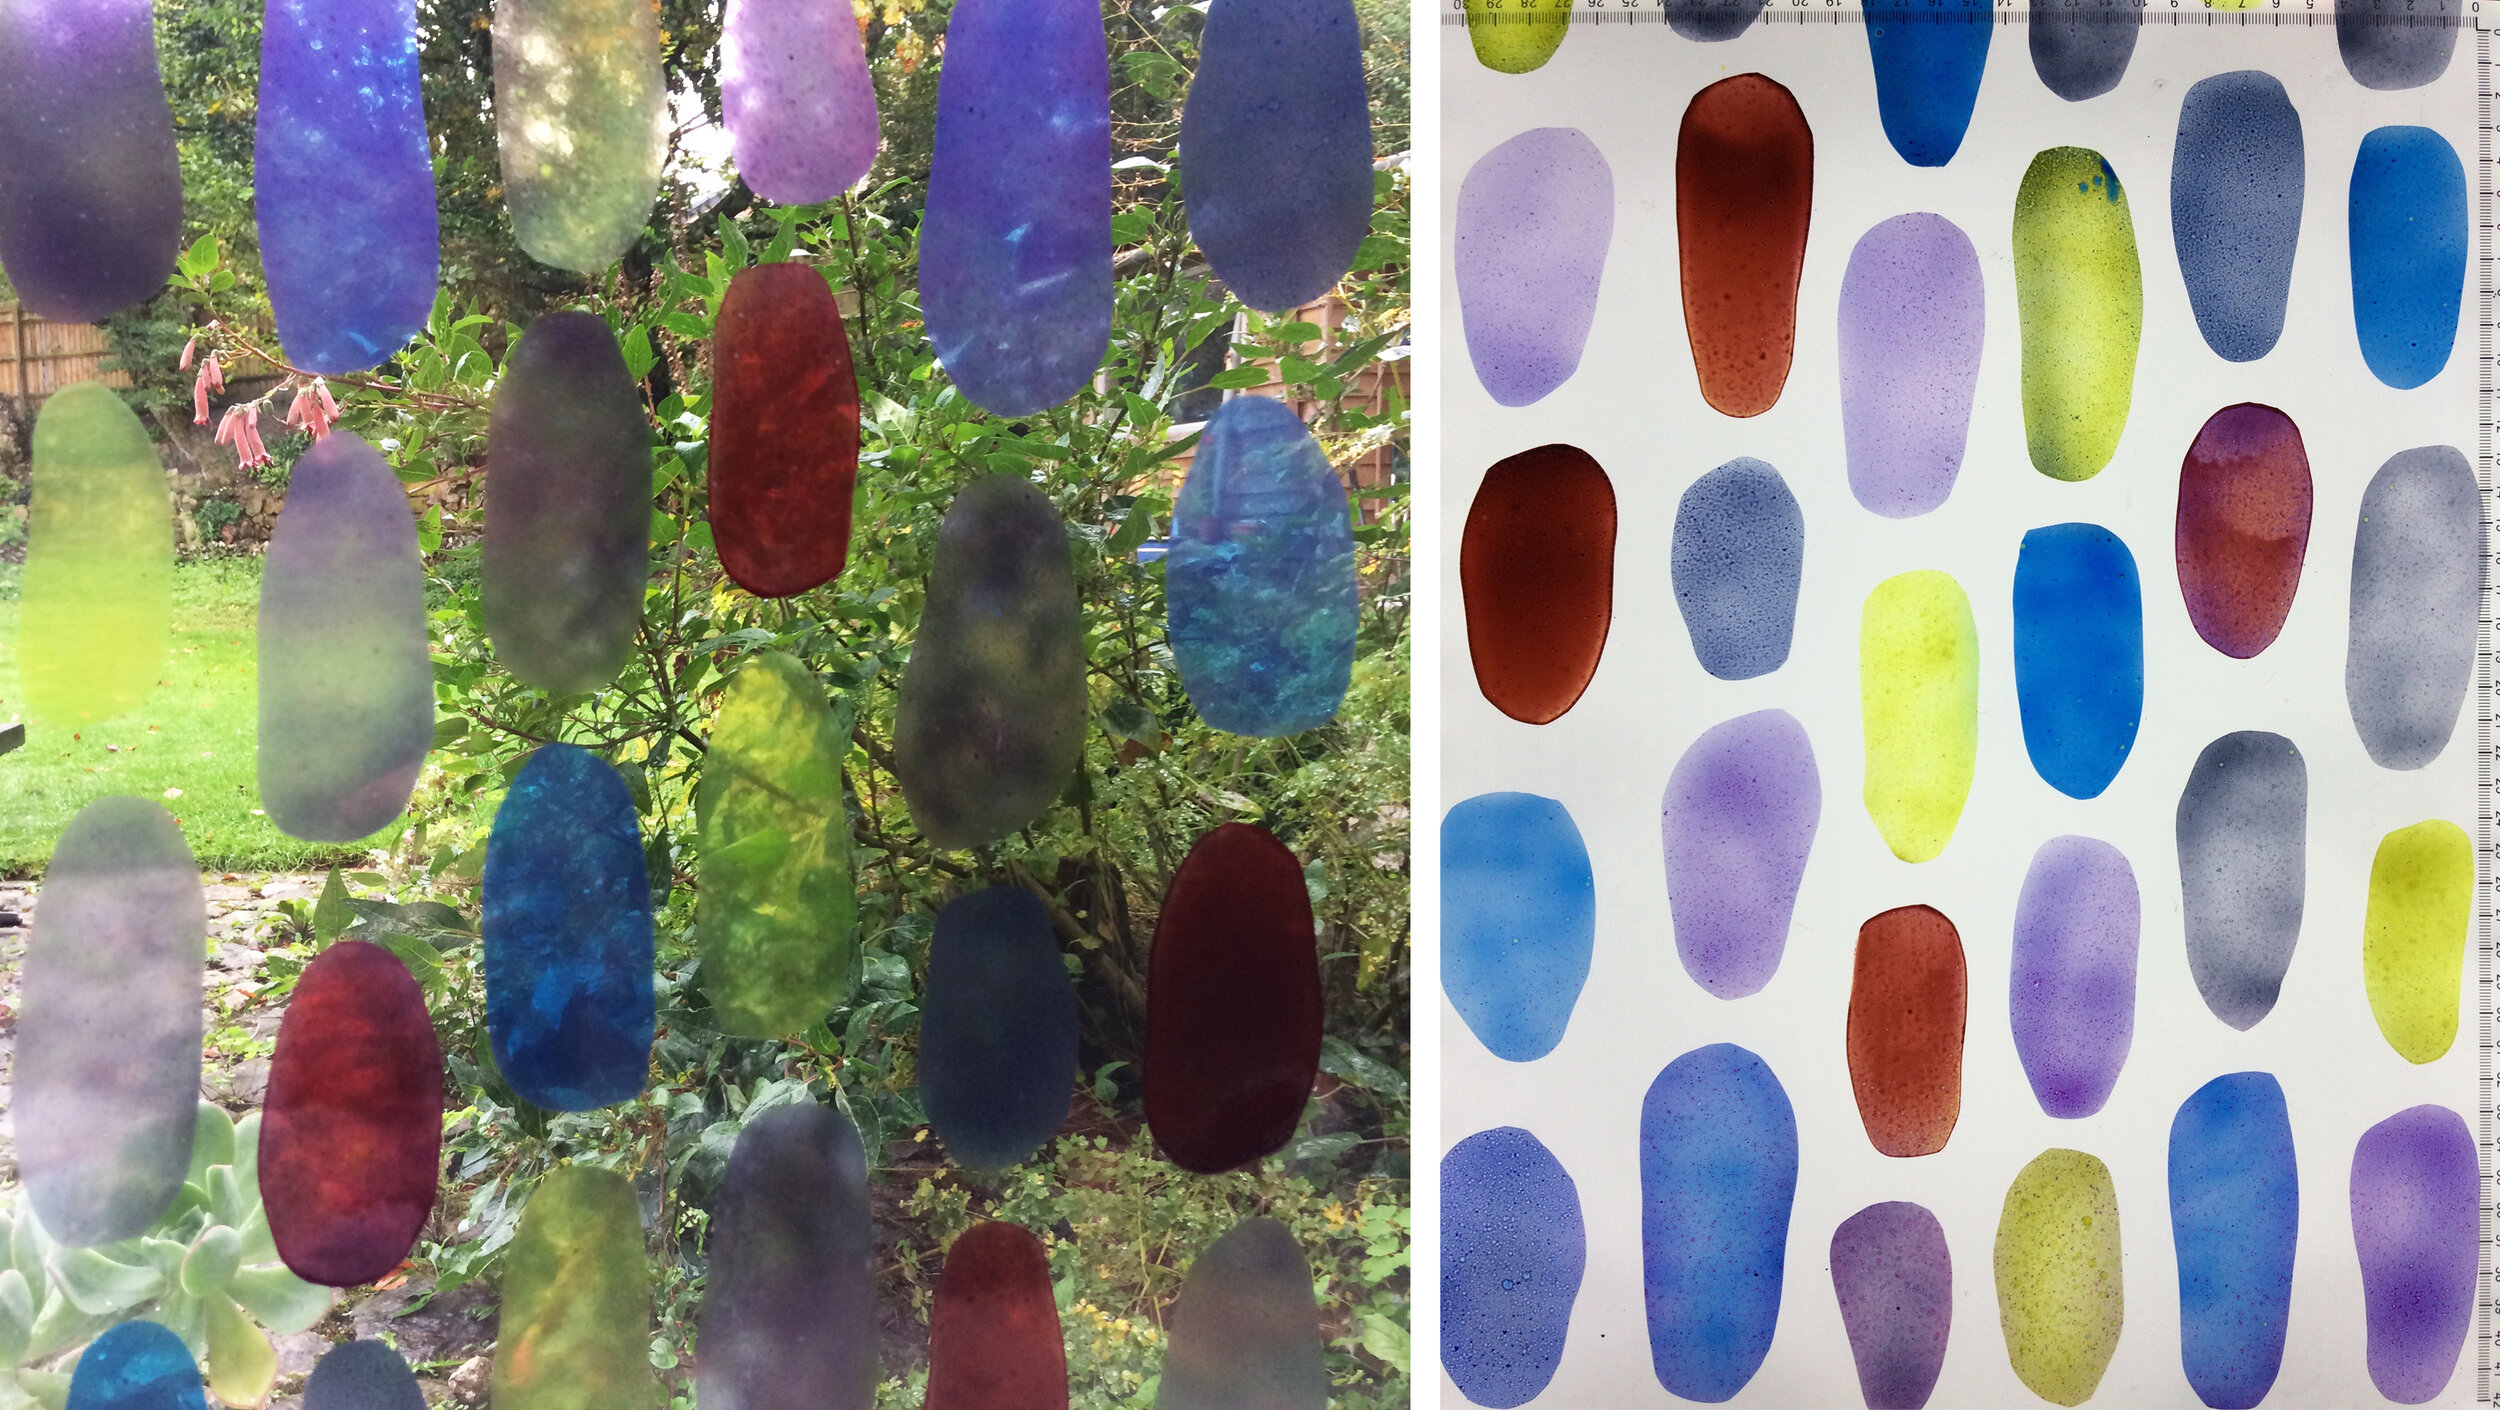
tessellation

vinyl patchwork by Sasha Ward

Scraps of sample adhesive vinyl.

The long term plan for blocking the view through the bay window and into the sitting room (below) is to make a stained glass window. The short term plan was to use scraps of printed adhesive vinyl, otherwise know as window film, to make a patchwork in the window so we could get rid of the hated lace curtain. The before and after photos show the transformation of the room (mostly by painting it) and the surprising way that the coloured vinyl works. It blocks the view more but lets light through, with none of the droopiness you got from the lace curtain.

Levenshulme window - before and after.

Levenshulme window - inside and outside.

The easy part was the design, kept simple with repeated, accurately cut shapes that could be moved around later. The hard part was the installation, some of the vinyl was too old or bent to stick properly and some of it looked too pale against the opaque colours (which have a white backing that you can see on the photo of the window from the outside) and had to be discarded.

Hexagons are always good, they make the design feel open and slightly curvy, but the three ‘flowers’ we planned, each with a red centre, don’t stand out because of the different properties of the different types of vinyl - it’s like mixing cotton and silk and thinking you wouldn’t notice. This vinyl project is a useful step towards designing the future stained glass window which will be a collaborative effort (this is my daughter’s house). I’ll be advocating that some red stays in.

The red vinyl stands out because it’s the only sample that I didn’t design. The other pieces we used are samples from four projects shown below. One at Millbank House where the aim was to block a building right outside the windows with peepholes remaining, two at the entrance to the same building to cover an over bright lightbox, three next to a maternity bed at Dorchester Hospital where privacy was vital, and four from was a design I always really liked installed as part of an exhibition about public art at Swindon library.

Origins of the vinyl leftovers - temporary commissions for The House of Lords Library at Millbank House (2011), The entrance to Millbank House (2012), Dorchester Hospital Maternity Suite (2019) and Swindon Library (2017).

Adding without ruining by Sasha Ward

Windows made from scrap pieces of glass are a stained glass staple. In churches old pieces are leaded together in a different formation to make new windows, and in my own work I have always used offcuts, samples and broken pieces to make patterned windows, patchwork style. However, most of the samples I make for larger commissions are on thicker glass with large scale designs, not great for chopping up but ideal as the first layer in a new piece of work.

Experiment 1 with drawing and collage on top, 500 x 260 mm

Experiment 1 with drawing and collage on top, 500 x 260 mm

Experiment 1 (above and below) started with a leftover computer cut stencil from a large scale project which I stuck on an old piece of float glass to try out a coarse sandblasting grit. The first bit of enamelling, the red and purple on the left, was another leftover, this time from a bit of very runny spray painting. After firing the effect was so nice that I added another layer, or maybe two, of hand painted enamel enjoying the way that the grainy texture on the glass affected the colours. I spent a long time after these unphotographed stages drawing, collaging and photoshopping to find shapes that would add to the composition, hiding the muddled sections, keeping the best parts and not ruining what I already had.

I like the finished piece so much that it’s still in my studio window months later. The four narrow windows that I added to the design were sandblasted out, then each filled with a different enamel colour with a lot of flux in the mix to make them very pale. What was underneath slightly comes through and the new enamel colours perfectly compliment the ones that were already there.

Experiment 1 completed and detail.

Experiment 1 completed and detail.

Experiment 2 in the window and on the light box, 470 x 450 mm

Experiment 2 in the window and on the light box, 470 x 450 mm

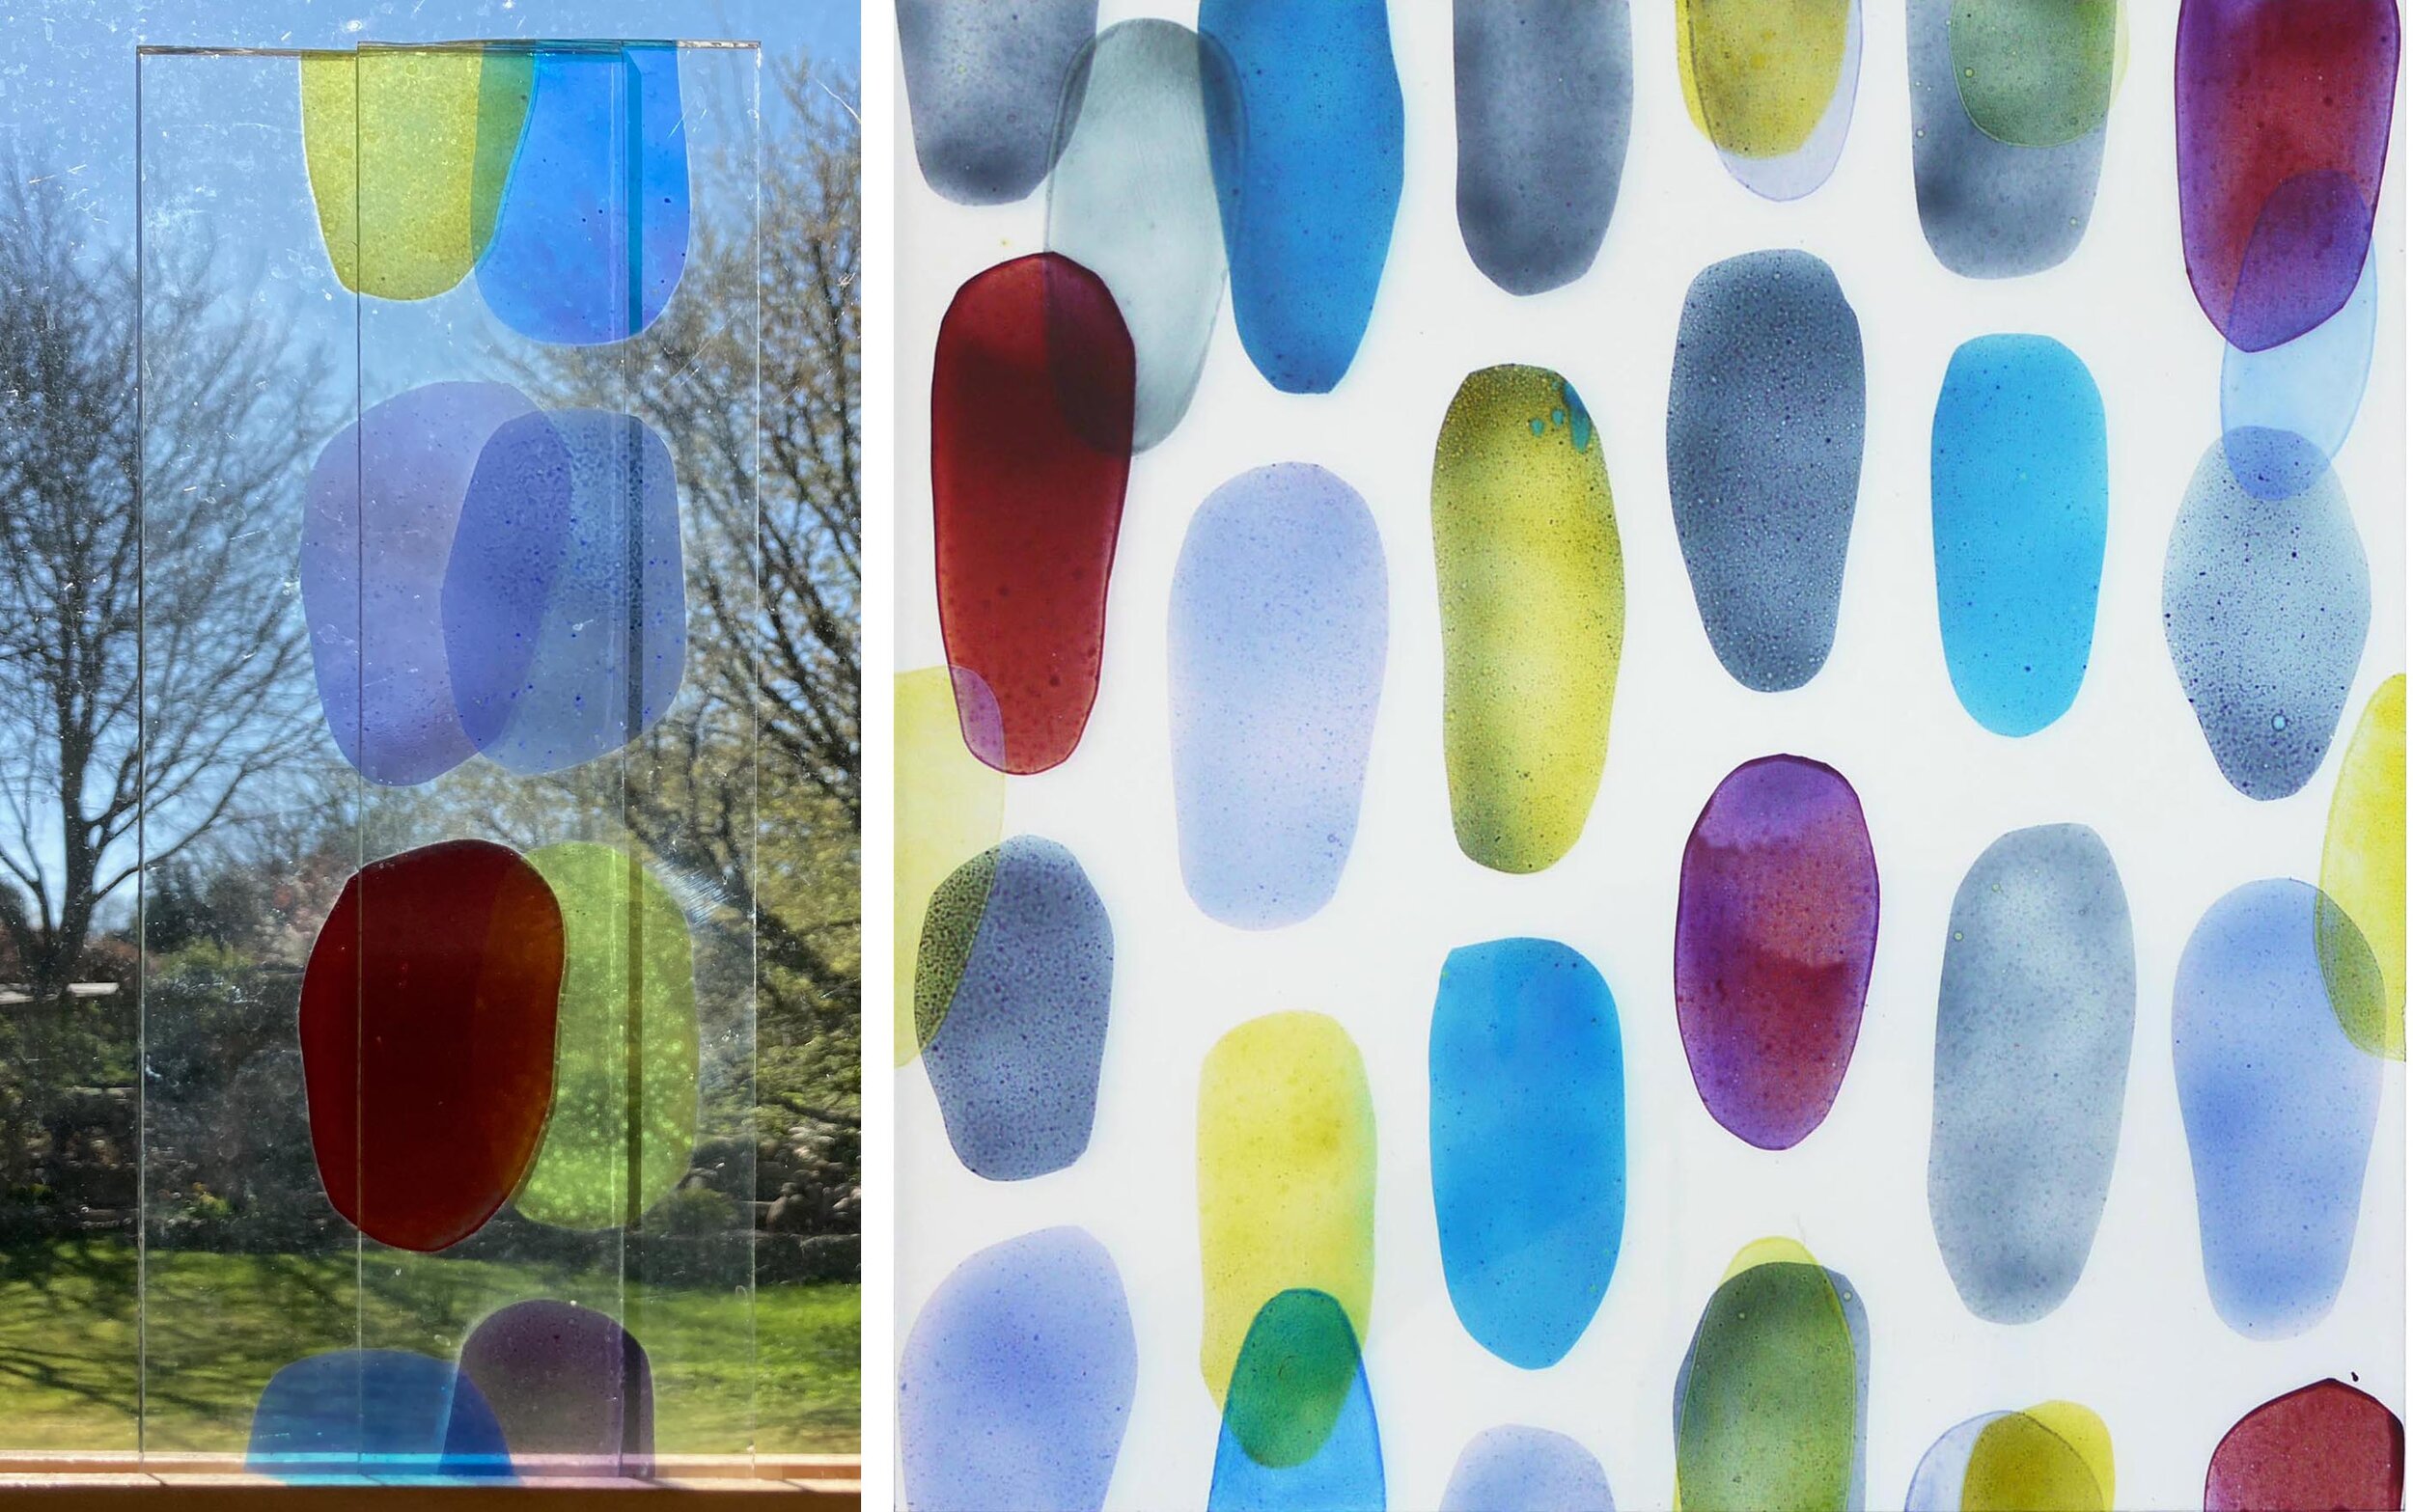
Experiment 2 (above and below) presented a different set of challenges. I had a large piece of glass where I’d tried out old glass enamels in rough ovals, there were some lovely qualities in the different enamel mixes but no overall shape to the composition. I decided to use it as the first layer of a new piece, 300 mm square, for the online exhibition of work by members (I’m a new one) of the British Society of Master Glass Painters as these marks and colours seemed to celebrate the joy of glass painting. I spent an even longer time on the next stage of this one, planning patterns around the shapes and additions to them inspired by the effect of the overlapping offcuts in my window (below left).

I know by now not to rush into things, I was very conscious that I mustn’t ruin the piece by interrupting the stillness at its centre. Instead I thought about the concept of tessellation and added more ovals where they were needed to make the tile roughly tessellate while creating just a few areas of overlapping colour. It looks much better on its own than when I did tesselate it as you can see below.

Experiment 2: Left, overlapping pieces.  Right and below, turned into a tessellating tile.

Experiment 2: Left, overlapping pieces. Right and below, turned into a tessellating tile.

blob 3.jpg

Here is a link to lots of great contemporary stained glass squares in the exhibition on the BSMGP website.

Colour Wheel by Sasha Ward

I decided to make a stained glass panel for my grand daughter’s first birthday with the ulterior motive of making sure she learns about colour. It’s not really a colour wheel as there are no curves. I designed it with the pieces of coloured glass all the same size and shape so I could move them around post cutting. There are also slivers of clear glass to separate out the rings of colour, with the most intense colours on the inside ring.

Left, design for the panel, working out the tessellation. Right, glass pieces cut & shown against a white wall.

Left, design for the panel, working out the tessellation. Right, glass pieces cut & shown against a white wall.

From my boxes of coloured glass scraps, I chose the lightest colours and the thinnest glass. Many of the pieces are flashed glass, only one is an enamelled colour and all of the clear glass scraps and border are textured. Once I had put them on a backing sheet with plasticine blobs, it was fascinating to see how the colours change according to their background.

Left, pieces shown against a garden background. Right, pieces shown against a sky background.

Left, pieces shown against a garden background. Right, pieces shown against a sky background.

Left, leading completed. Right, graph paper cartoon after leading.

Left, leading completed. Right, graph paper cartoon after leading.

As the pieces are small (60mm across the hexagons, 10mm width of slivers) the leading was fiddly. The most fascinating photo (below right) is the one of the colours projected by the sun on to the floor, I’ve rotated and flipped it so you can compare colours across the photos. You can see that at this angle the shadows of the lead obscure the clear slivers and also the purpose of textured glass as it sends the light out in all different directions. The enamelled piece is the pale lemon one, the most perfectly clear.

Left, completed panel against tracing paper. Right, paper removed and the sun came out.

Left, completed panel against tracing paper. Right, paper removed and the sun came out.