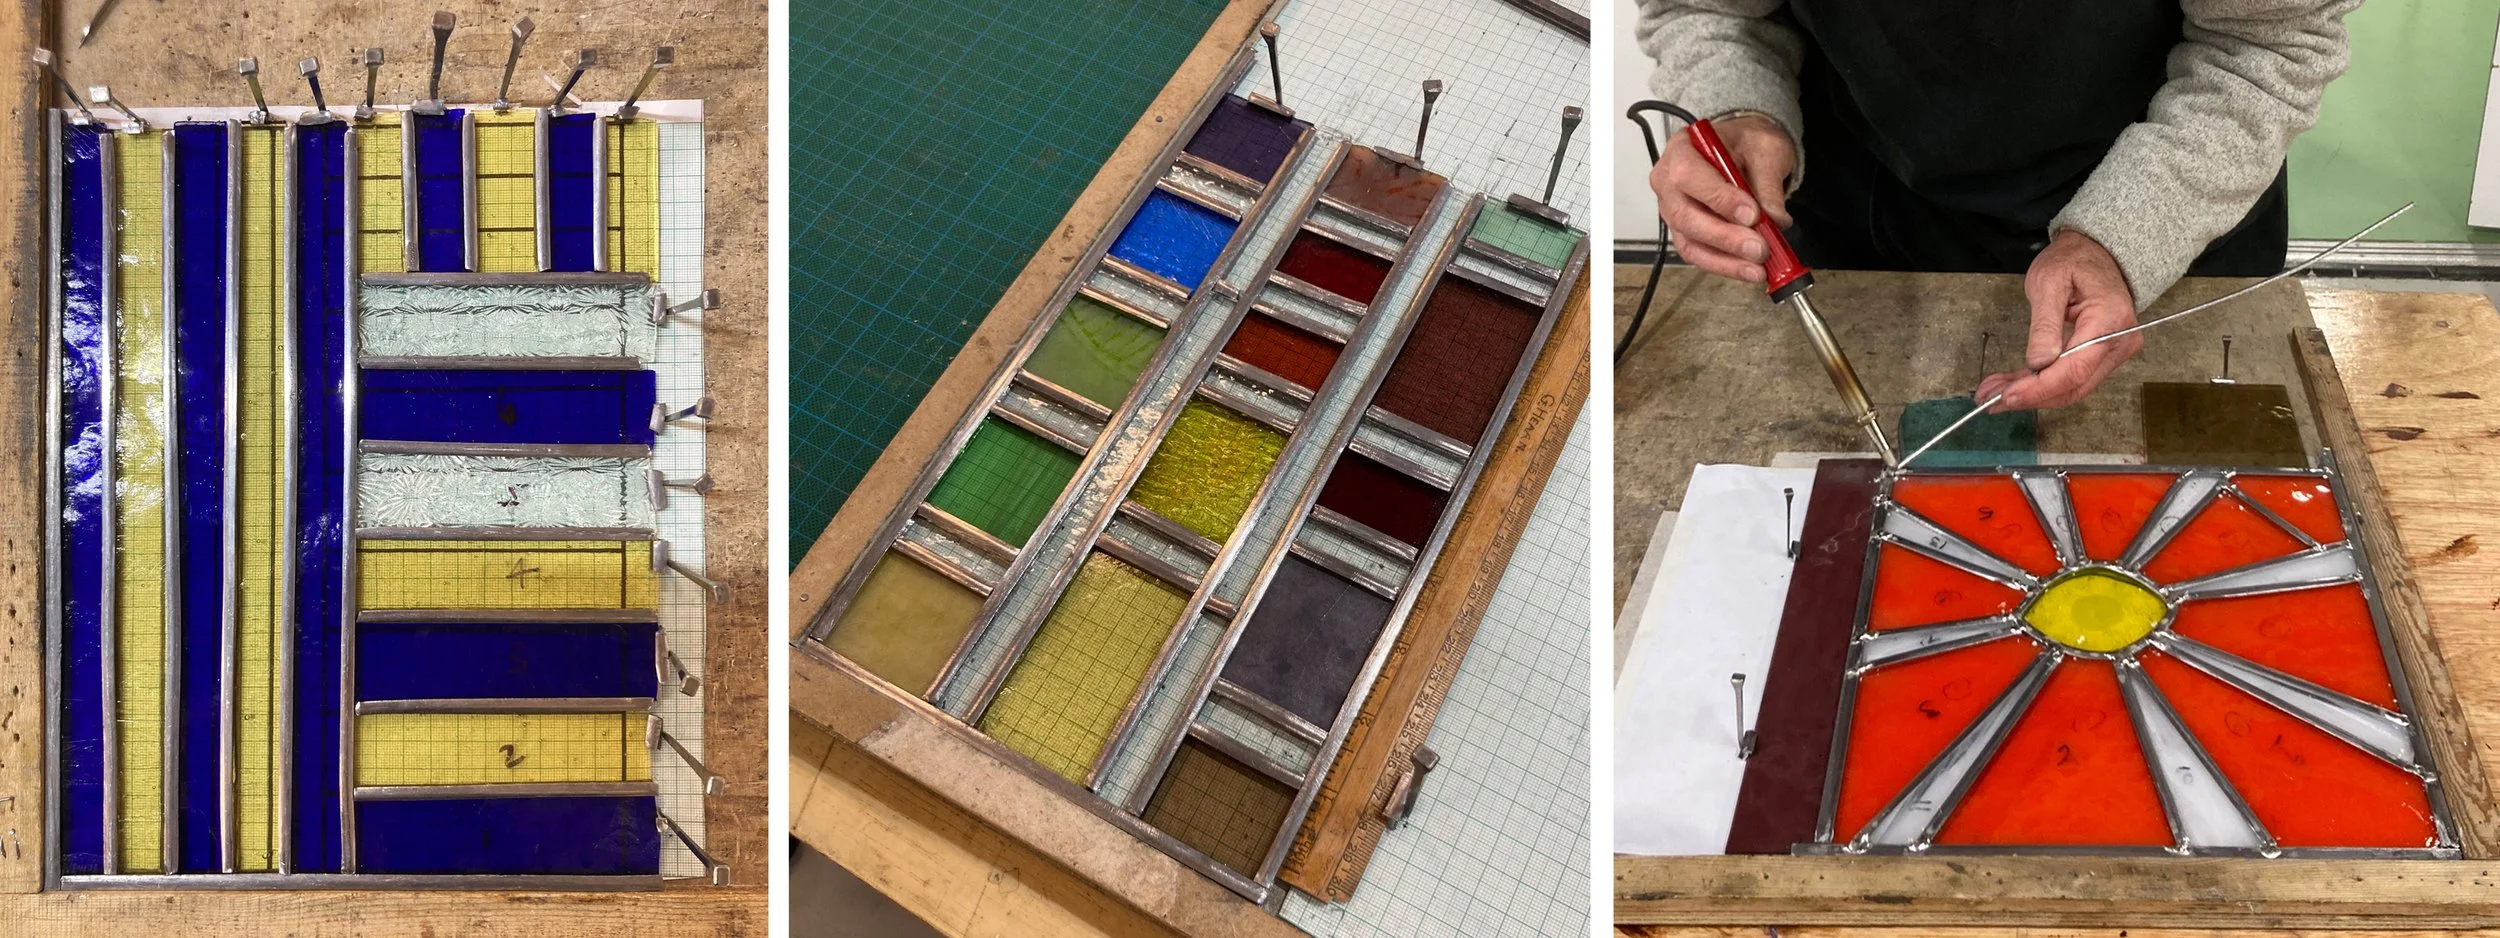
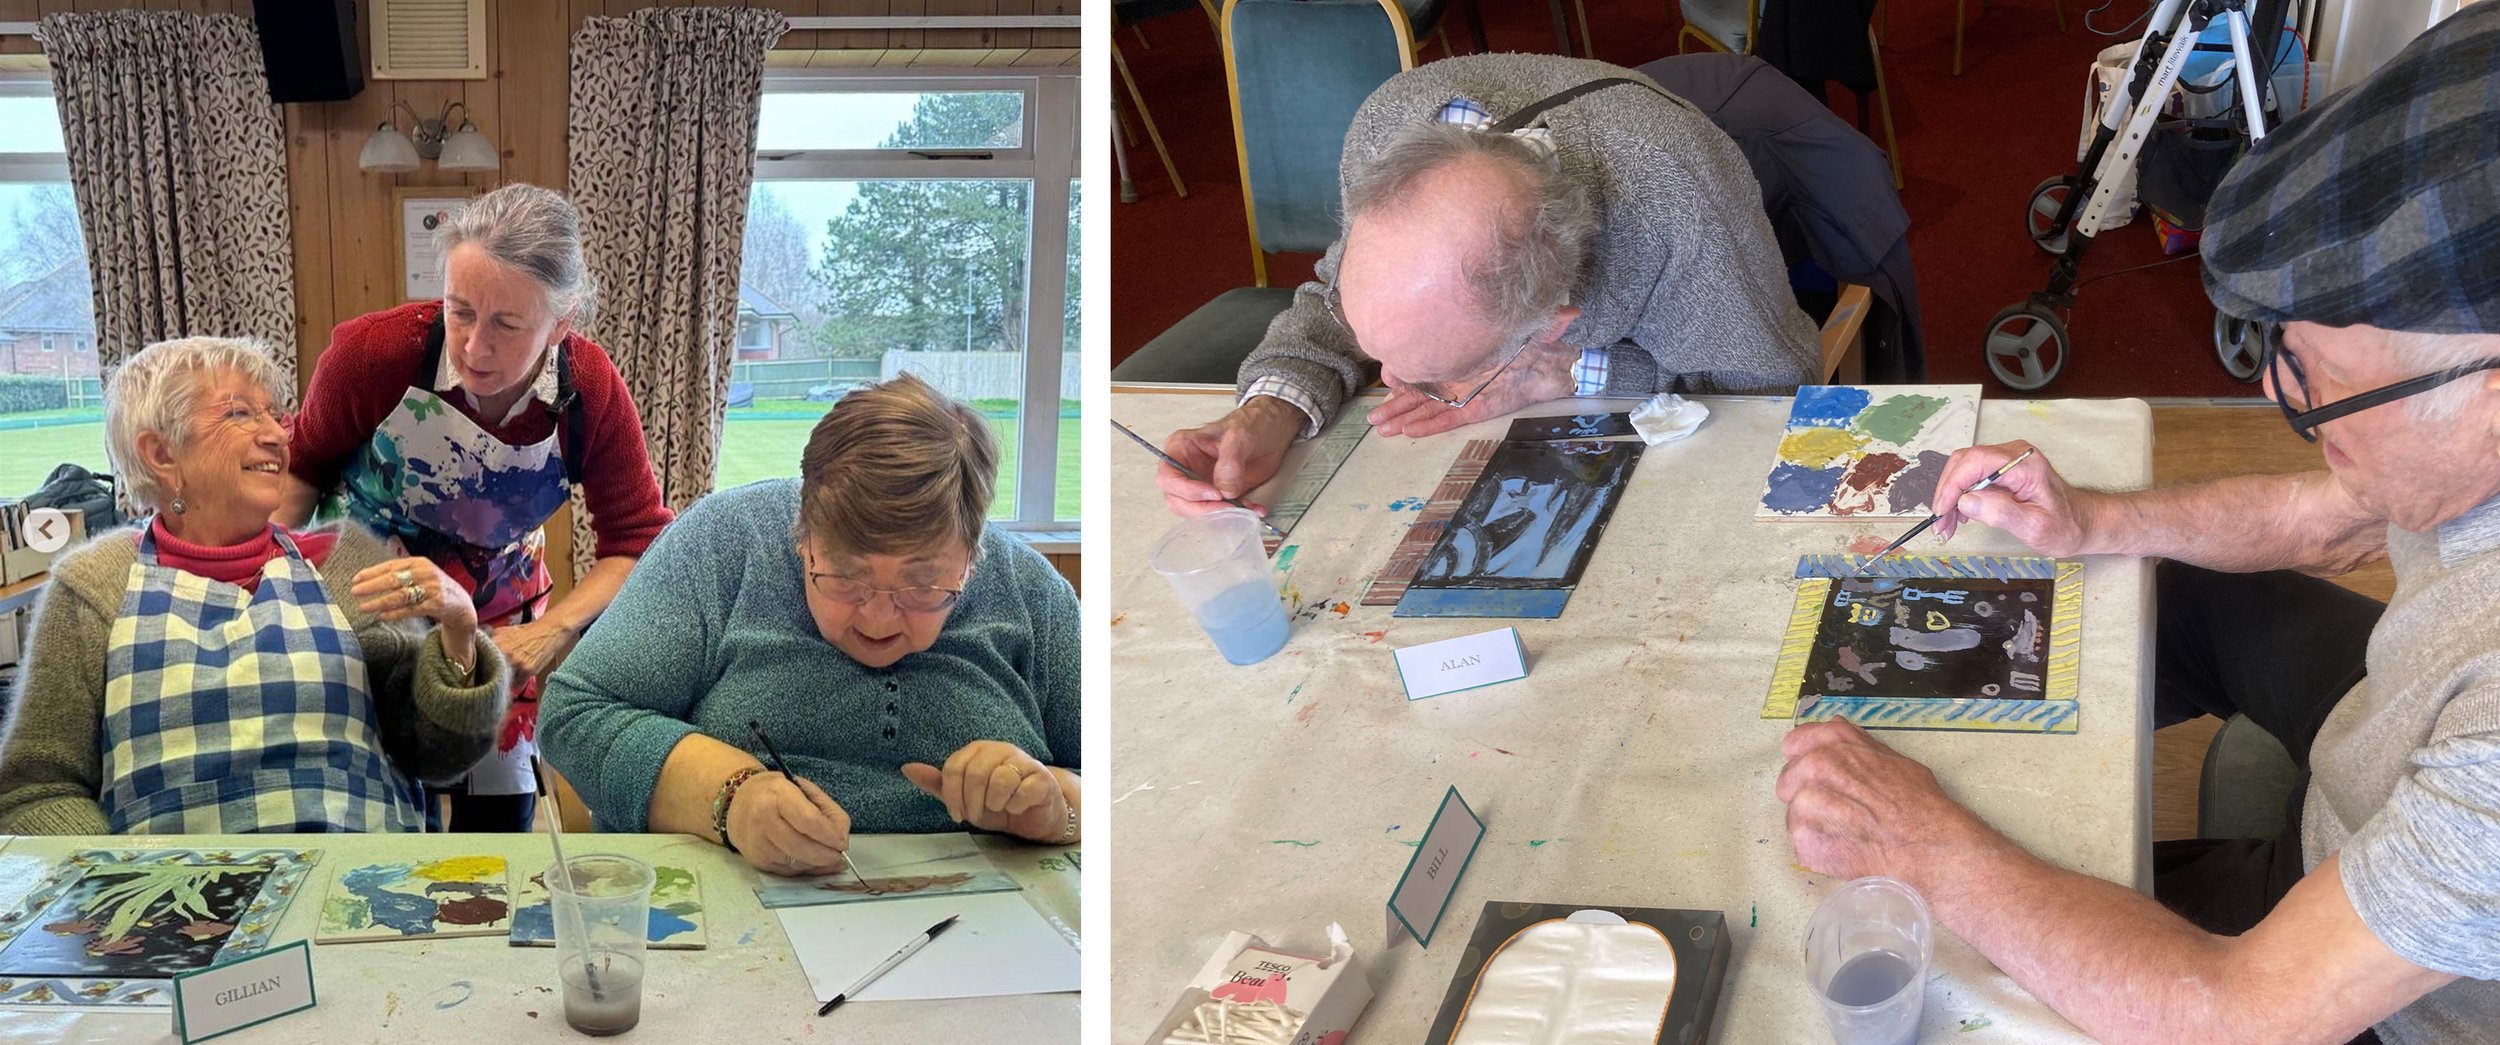
Here are nine of the panels I’ve made over the years to demonstrate the craft of stained glass when I’m teaching. I say craft because the art bit is something and somewhere else - sometimes I make an example panel that doesn’t look nice at all. I’ve found that the best ones are more or less square and about the same size, these nine range from 125mm to 190mm square.

Above left: To show glass paints on different types of glass in a copper section framework.
Above centre: Using colour sample offcuts on clear & etched glass, to show curves & straight lines.
Above right: From straight lines to gentle curves, with colours linking across lead lines.
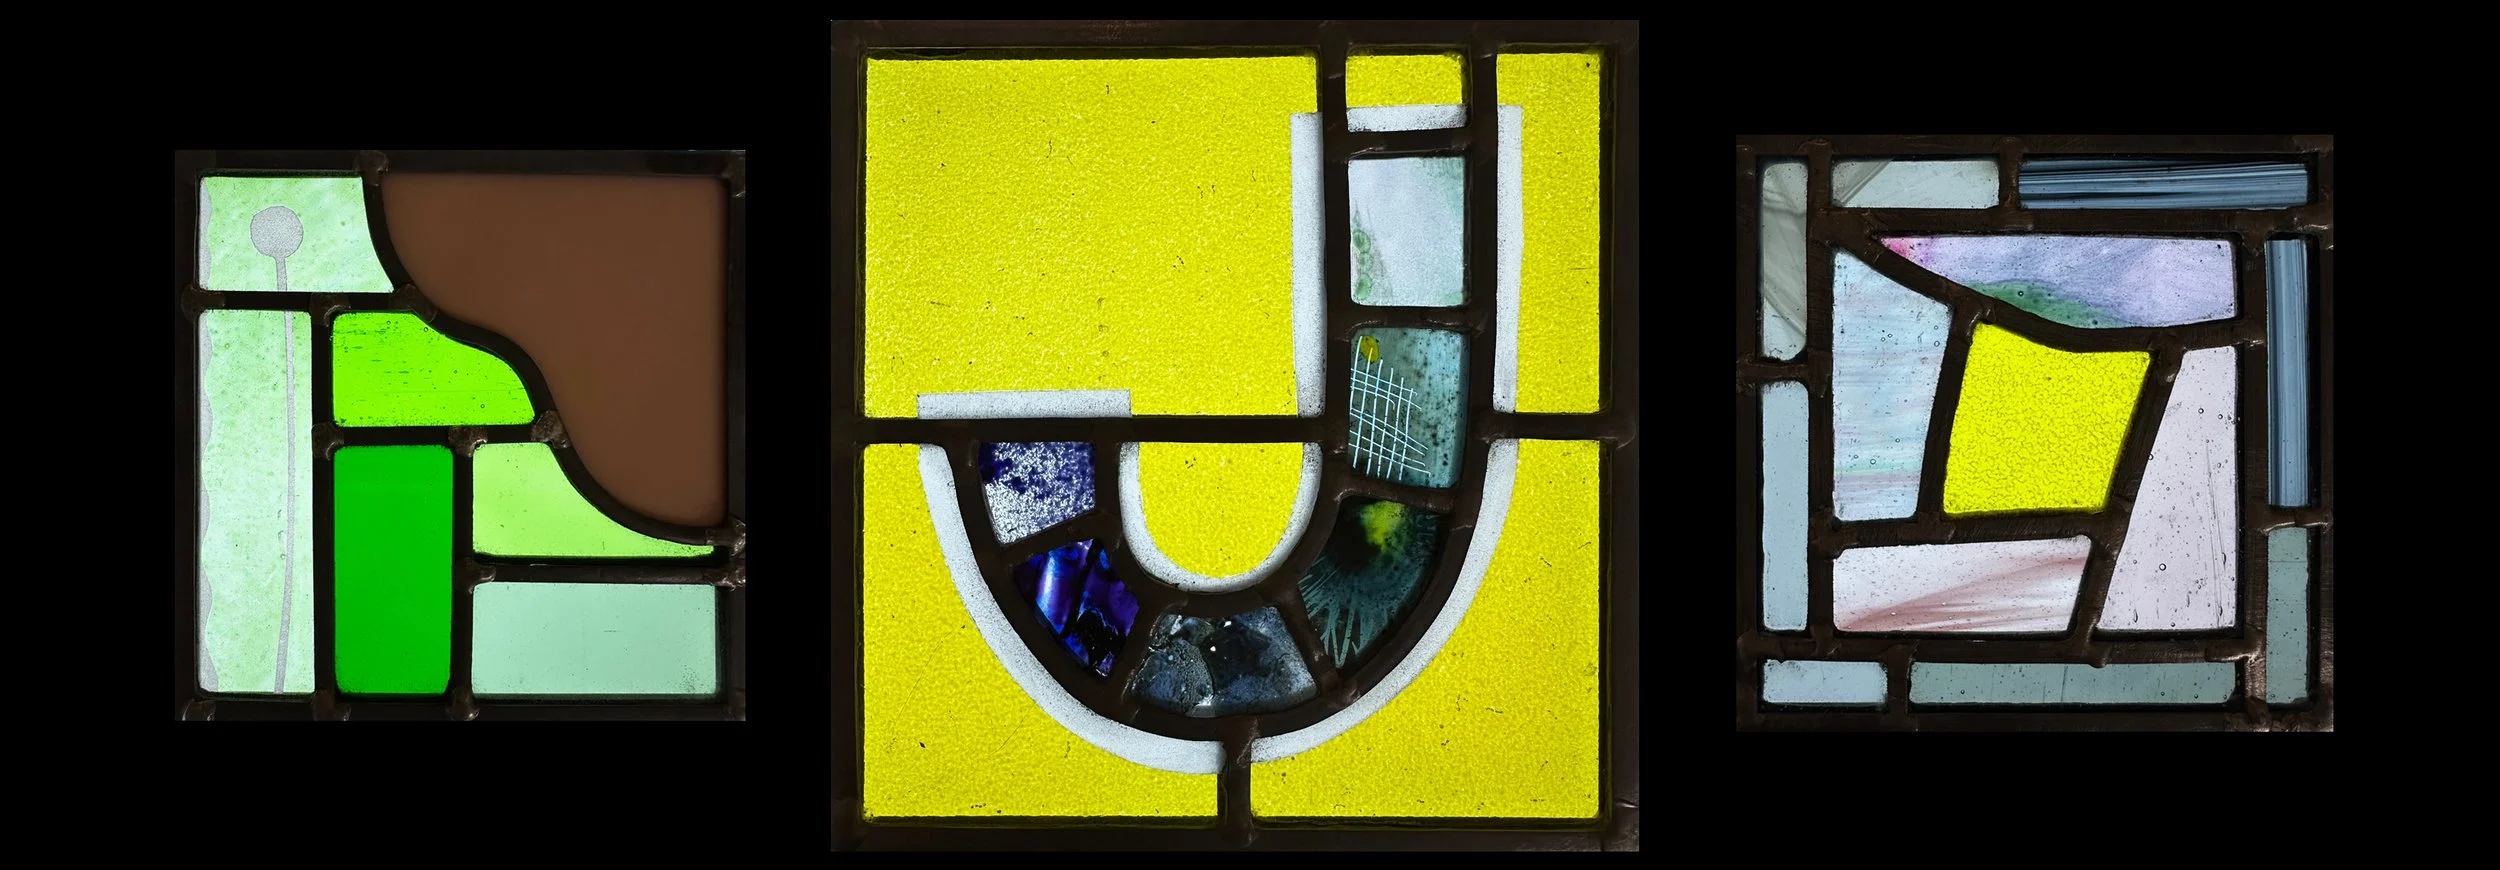
Above left: Opaque, coloured & enamelled glass with some simple sand blasting.
Above centre: Graduating colour & pattern along the J, sandblasted border on enamelled yellow.
Above right: Off cuts of coloured streaky glass in an effective colour combination.
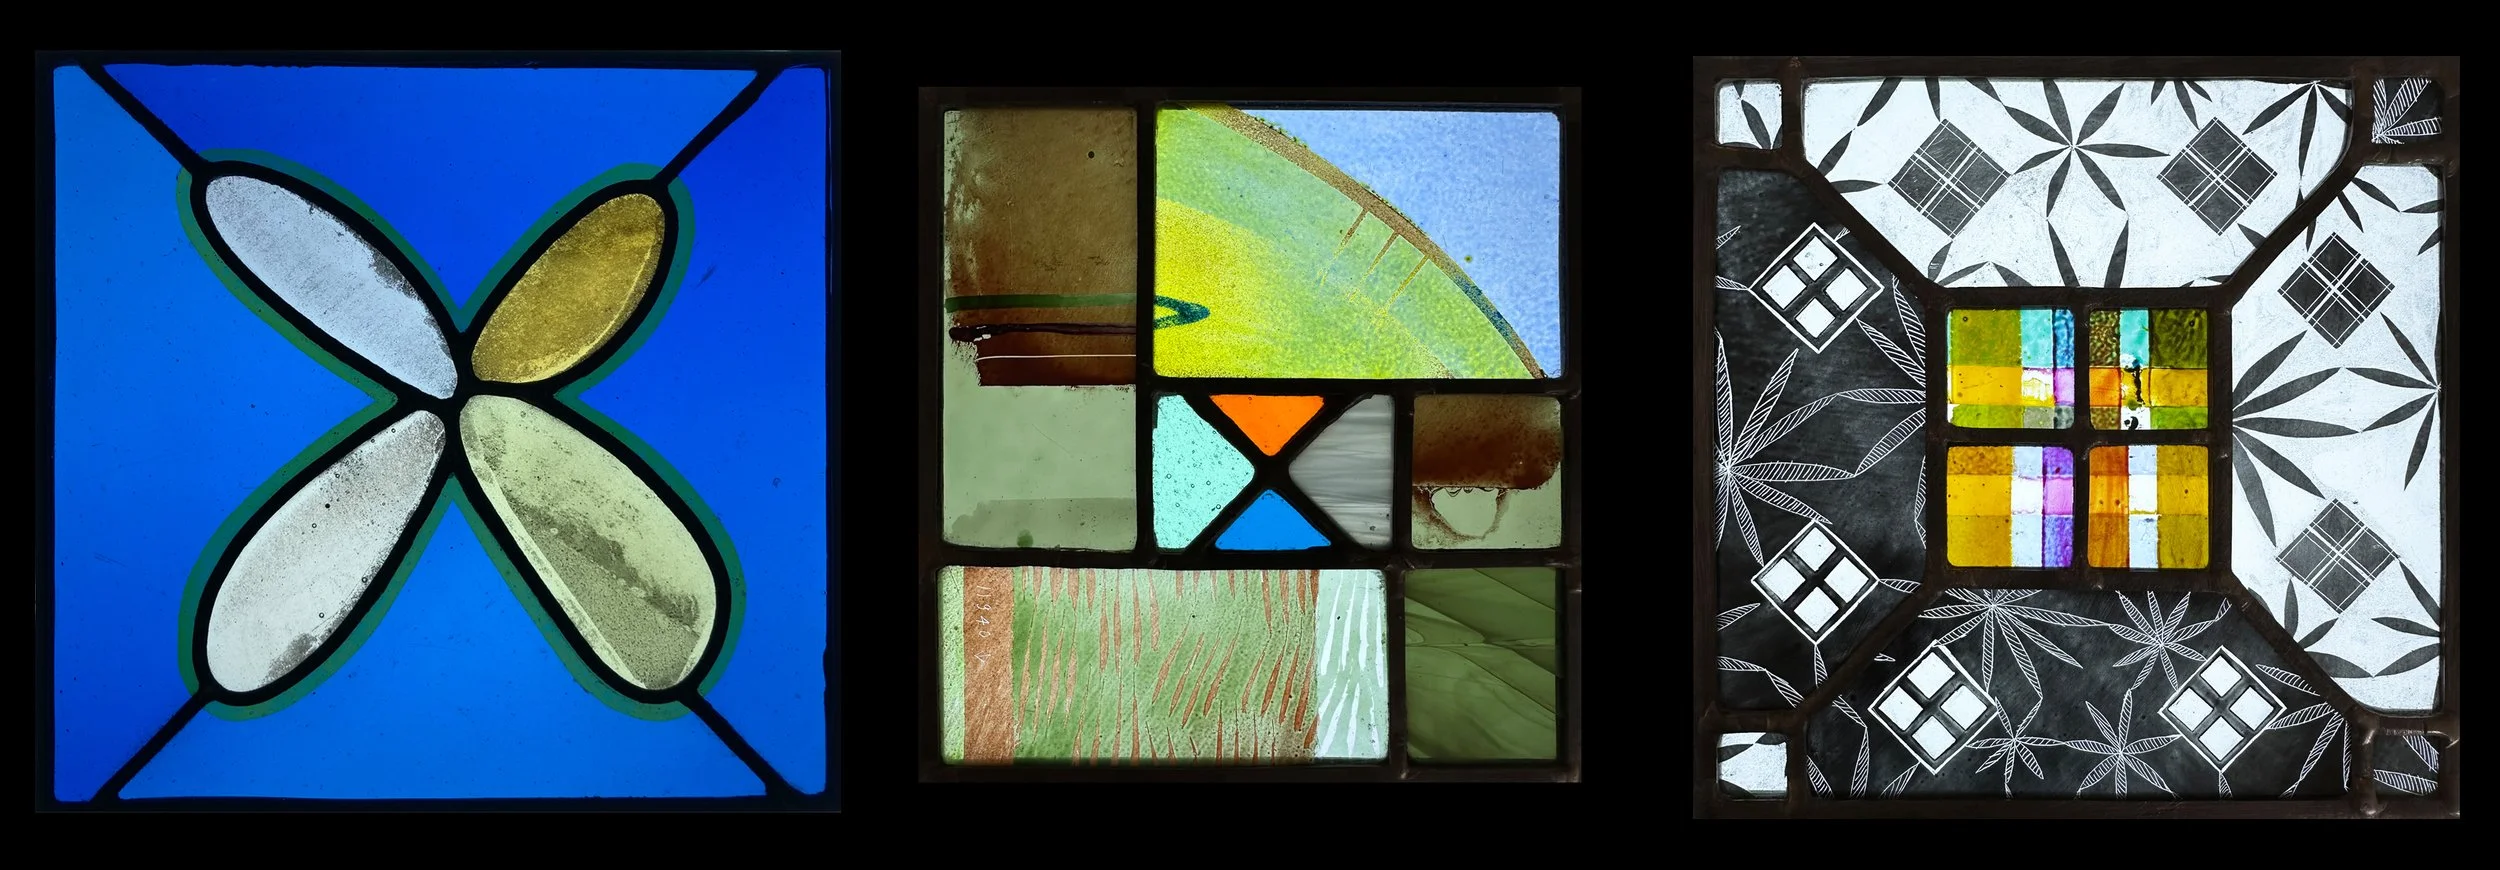
Above left: Using cast glass chunks and the thinnest possible lead.
Above centre: Patchwork style pieces with a vibrant copper foiled centre.
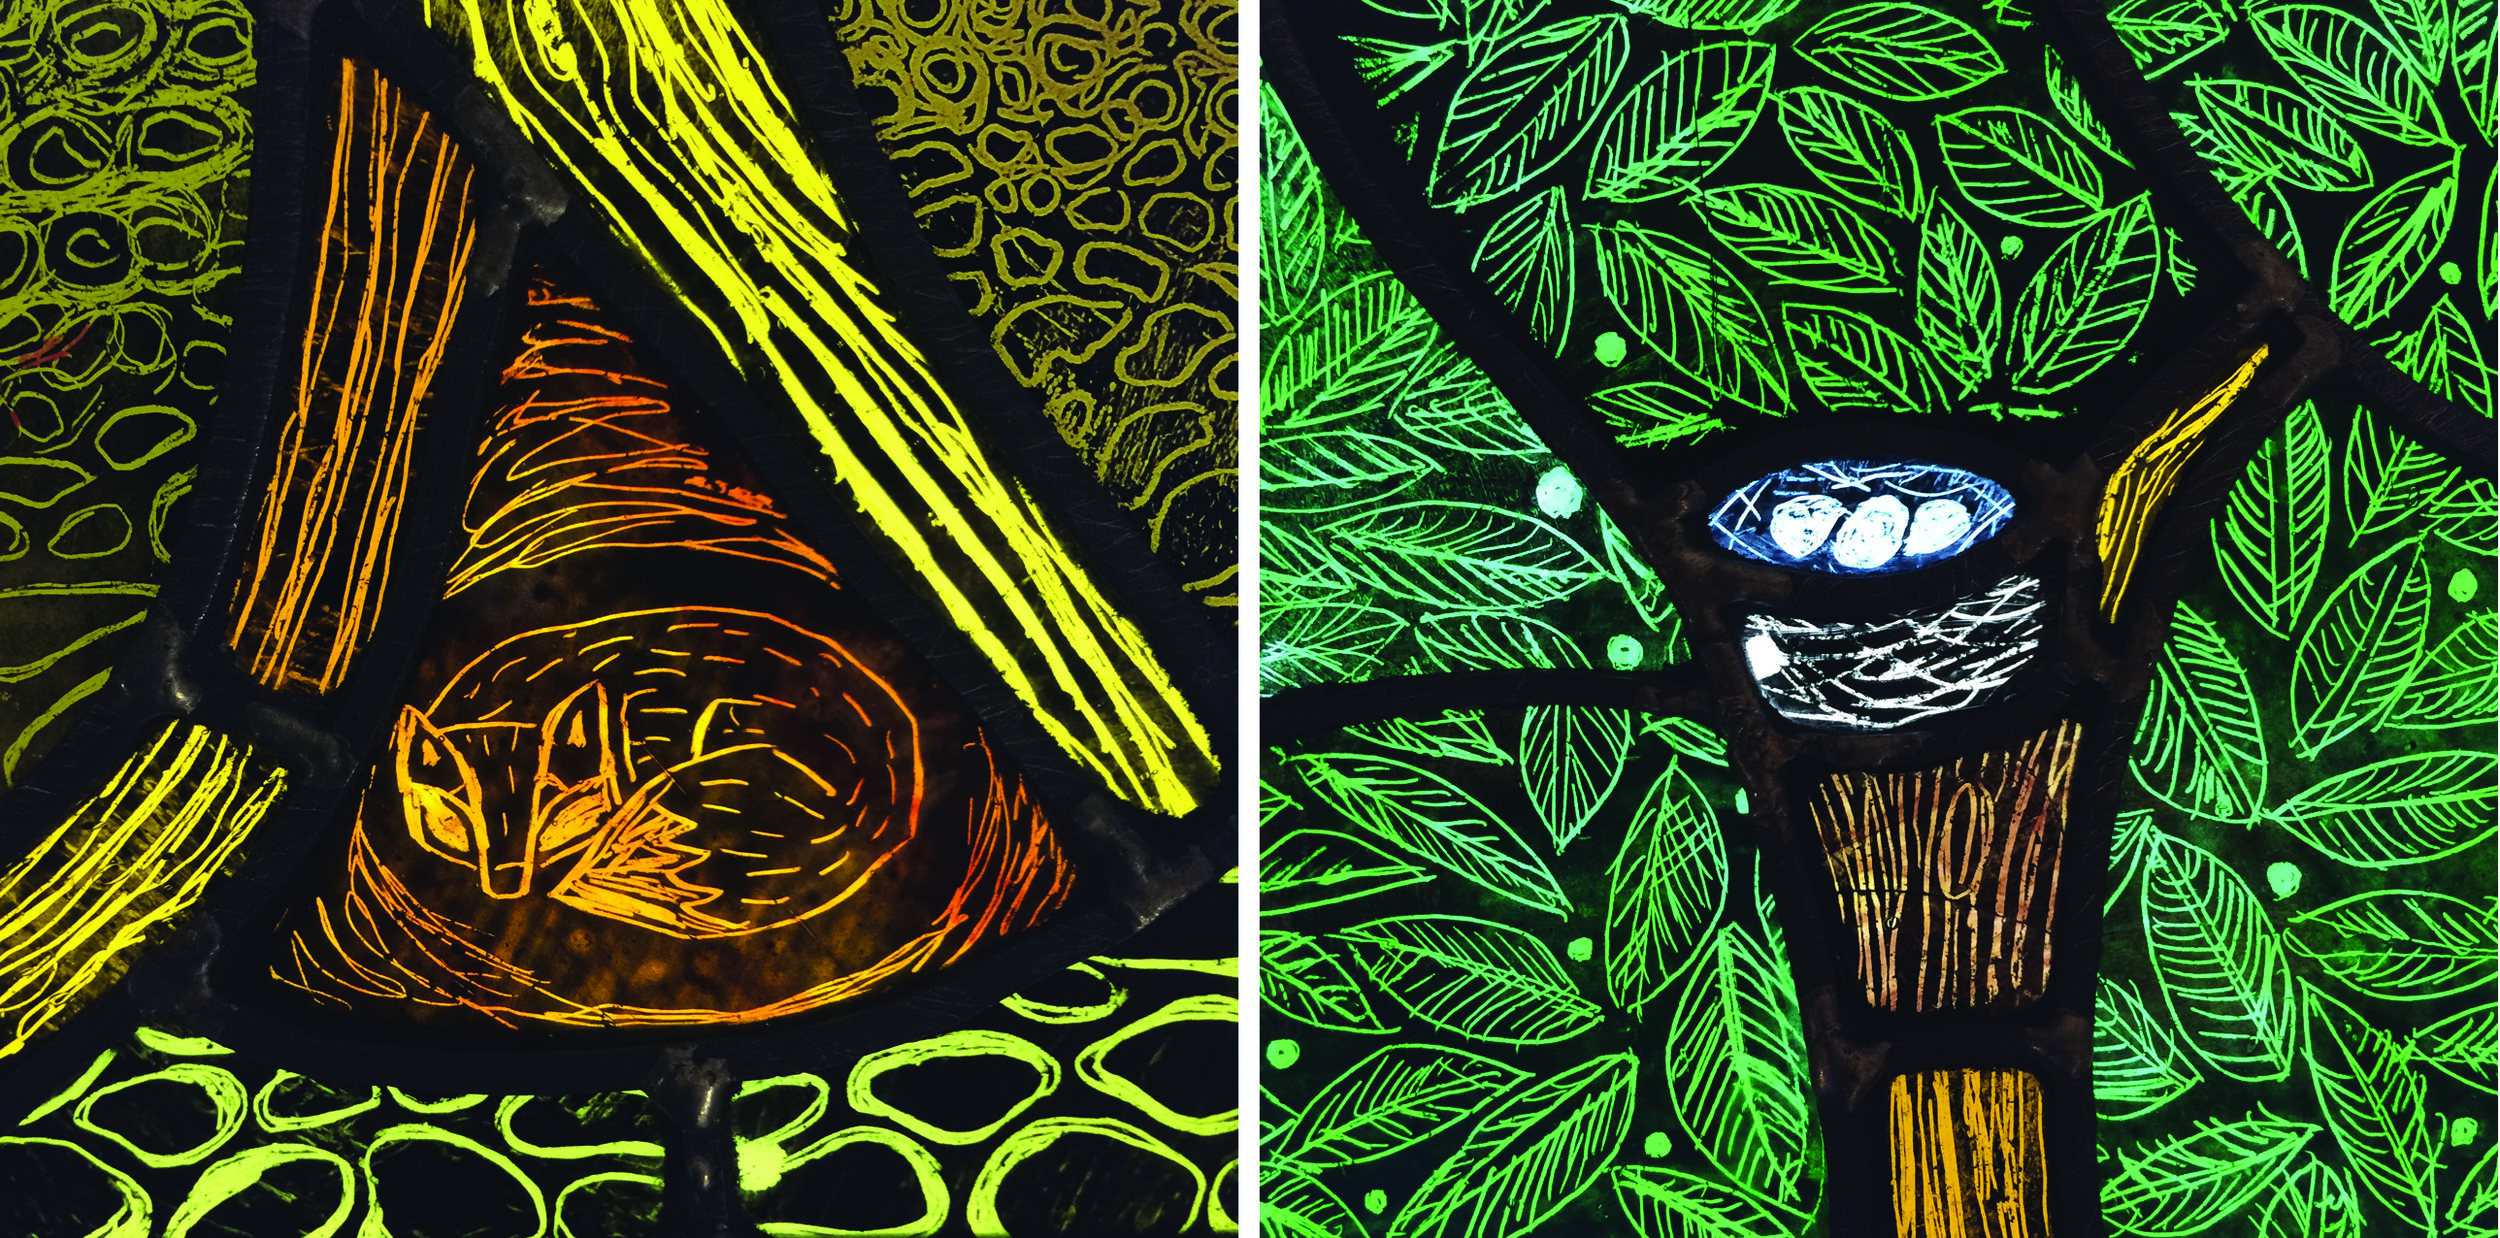
Above right: To show two styles of scraffito painting with layers of enamel colours in the centre.