glass enamel

Scrap Glass by Sasha Ward

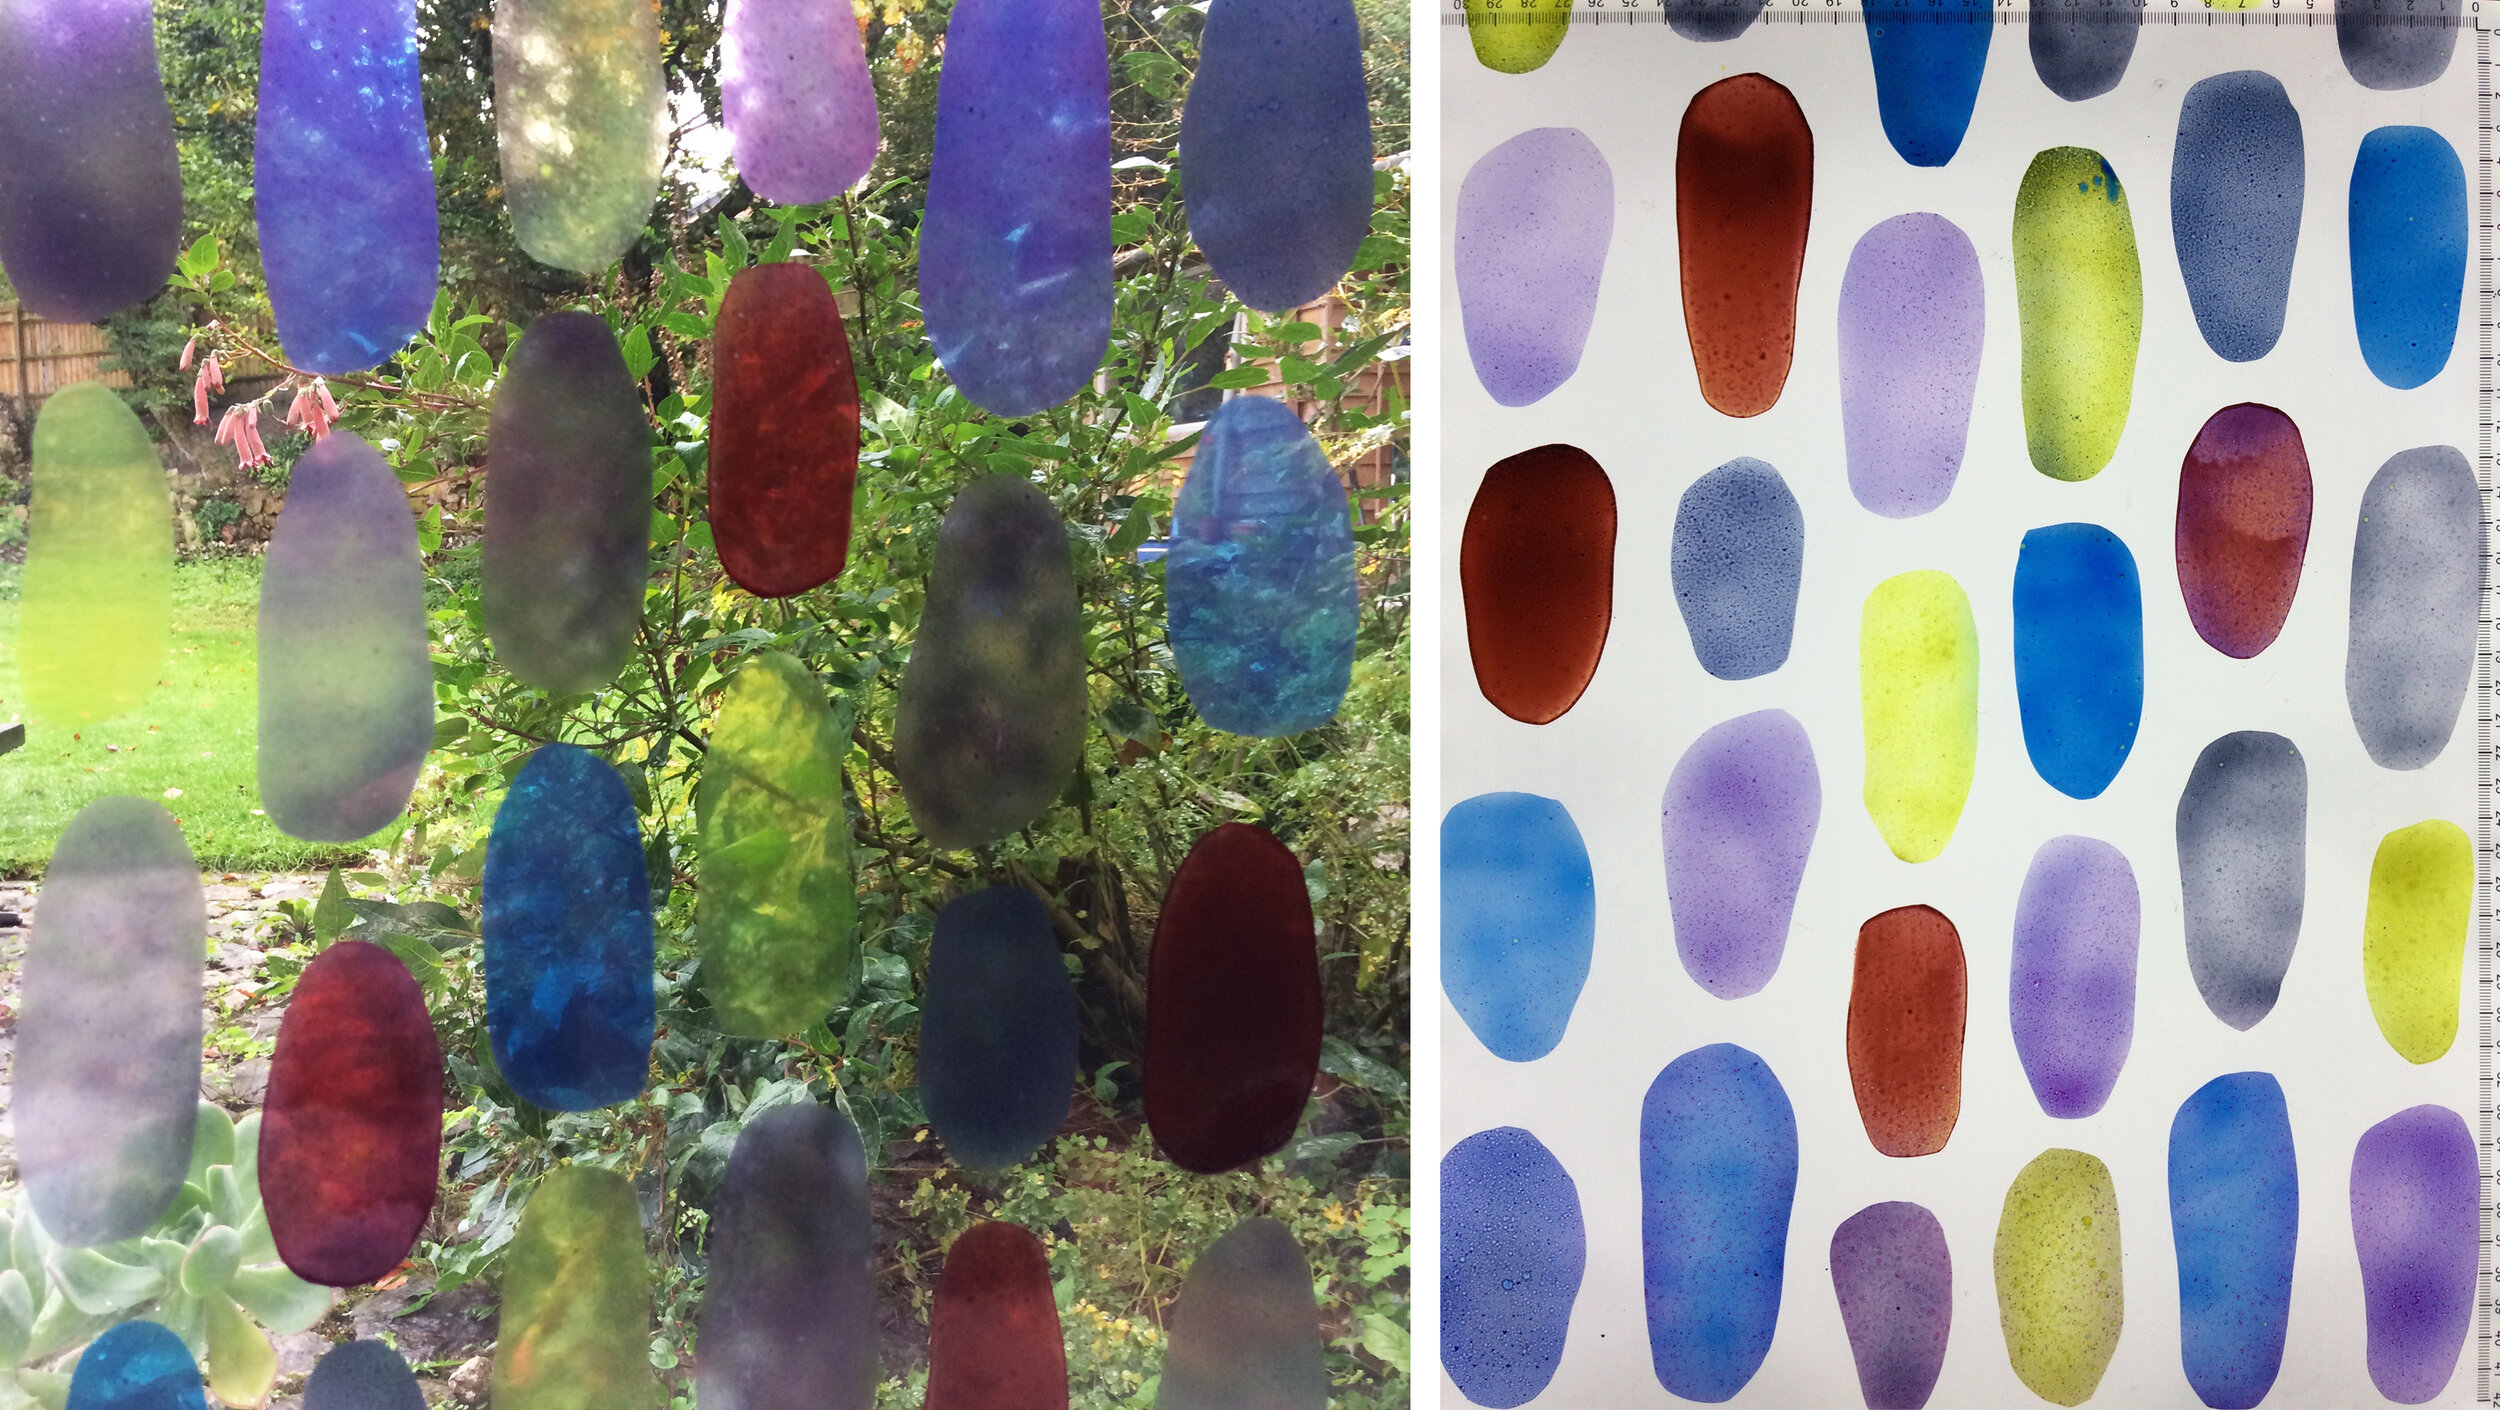
Left, palette with unfired enamel paint. Right, glass scraps painted with two enamel colours and fired.

For a recent commission I had to make a lot of colour samples using transparent glass enamel mixed with a drop of lavender oil and another of gum arabic in the traditional way. With the leftover paint I coated rectangles of glass with two colours against each other and once fired, saved them in a box. The next stage, cutting them up then leading them together to make something satisfactory, proved harder than I thought.

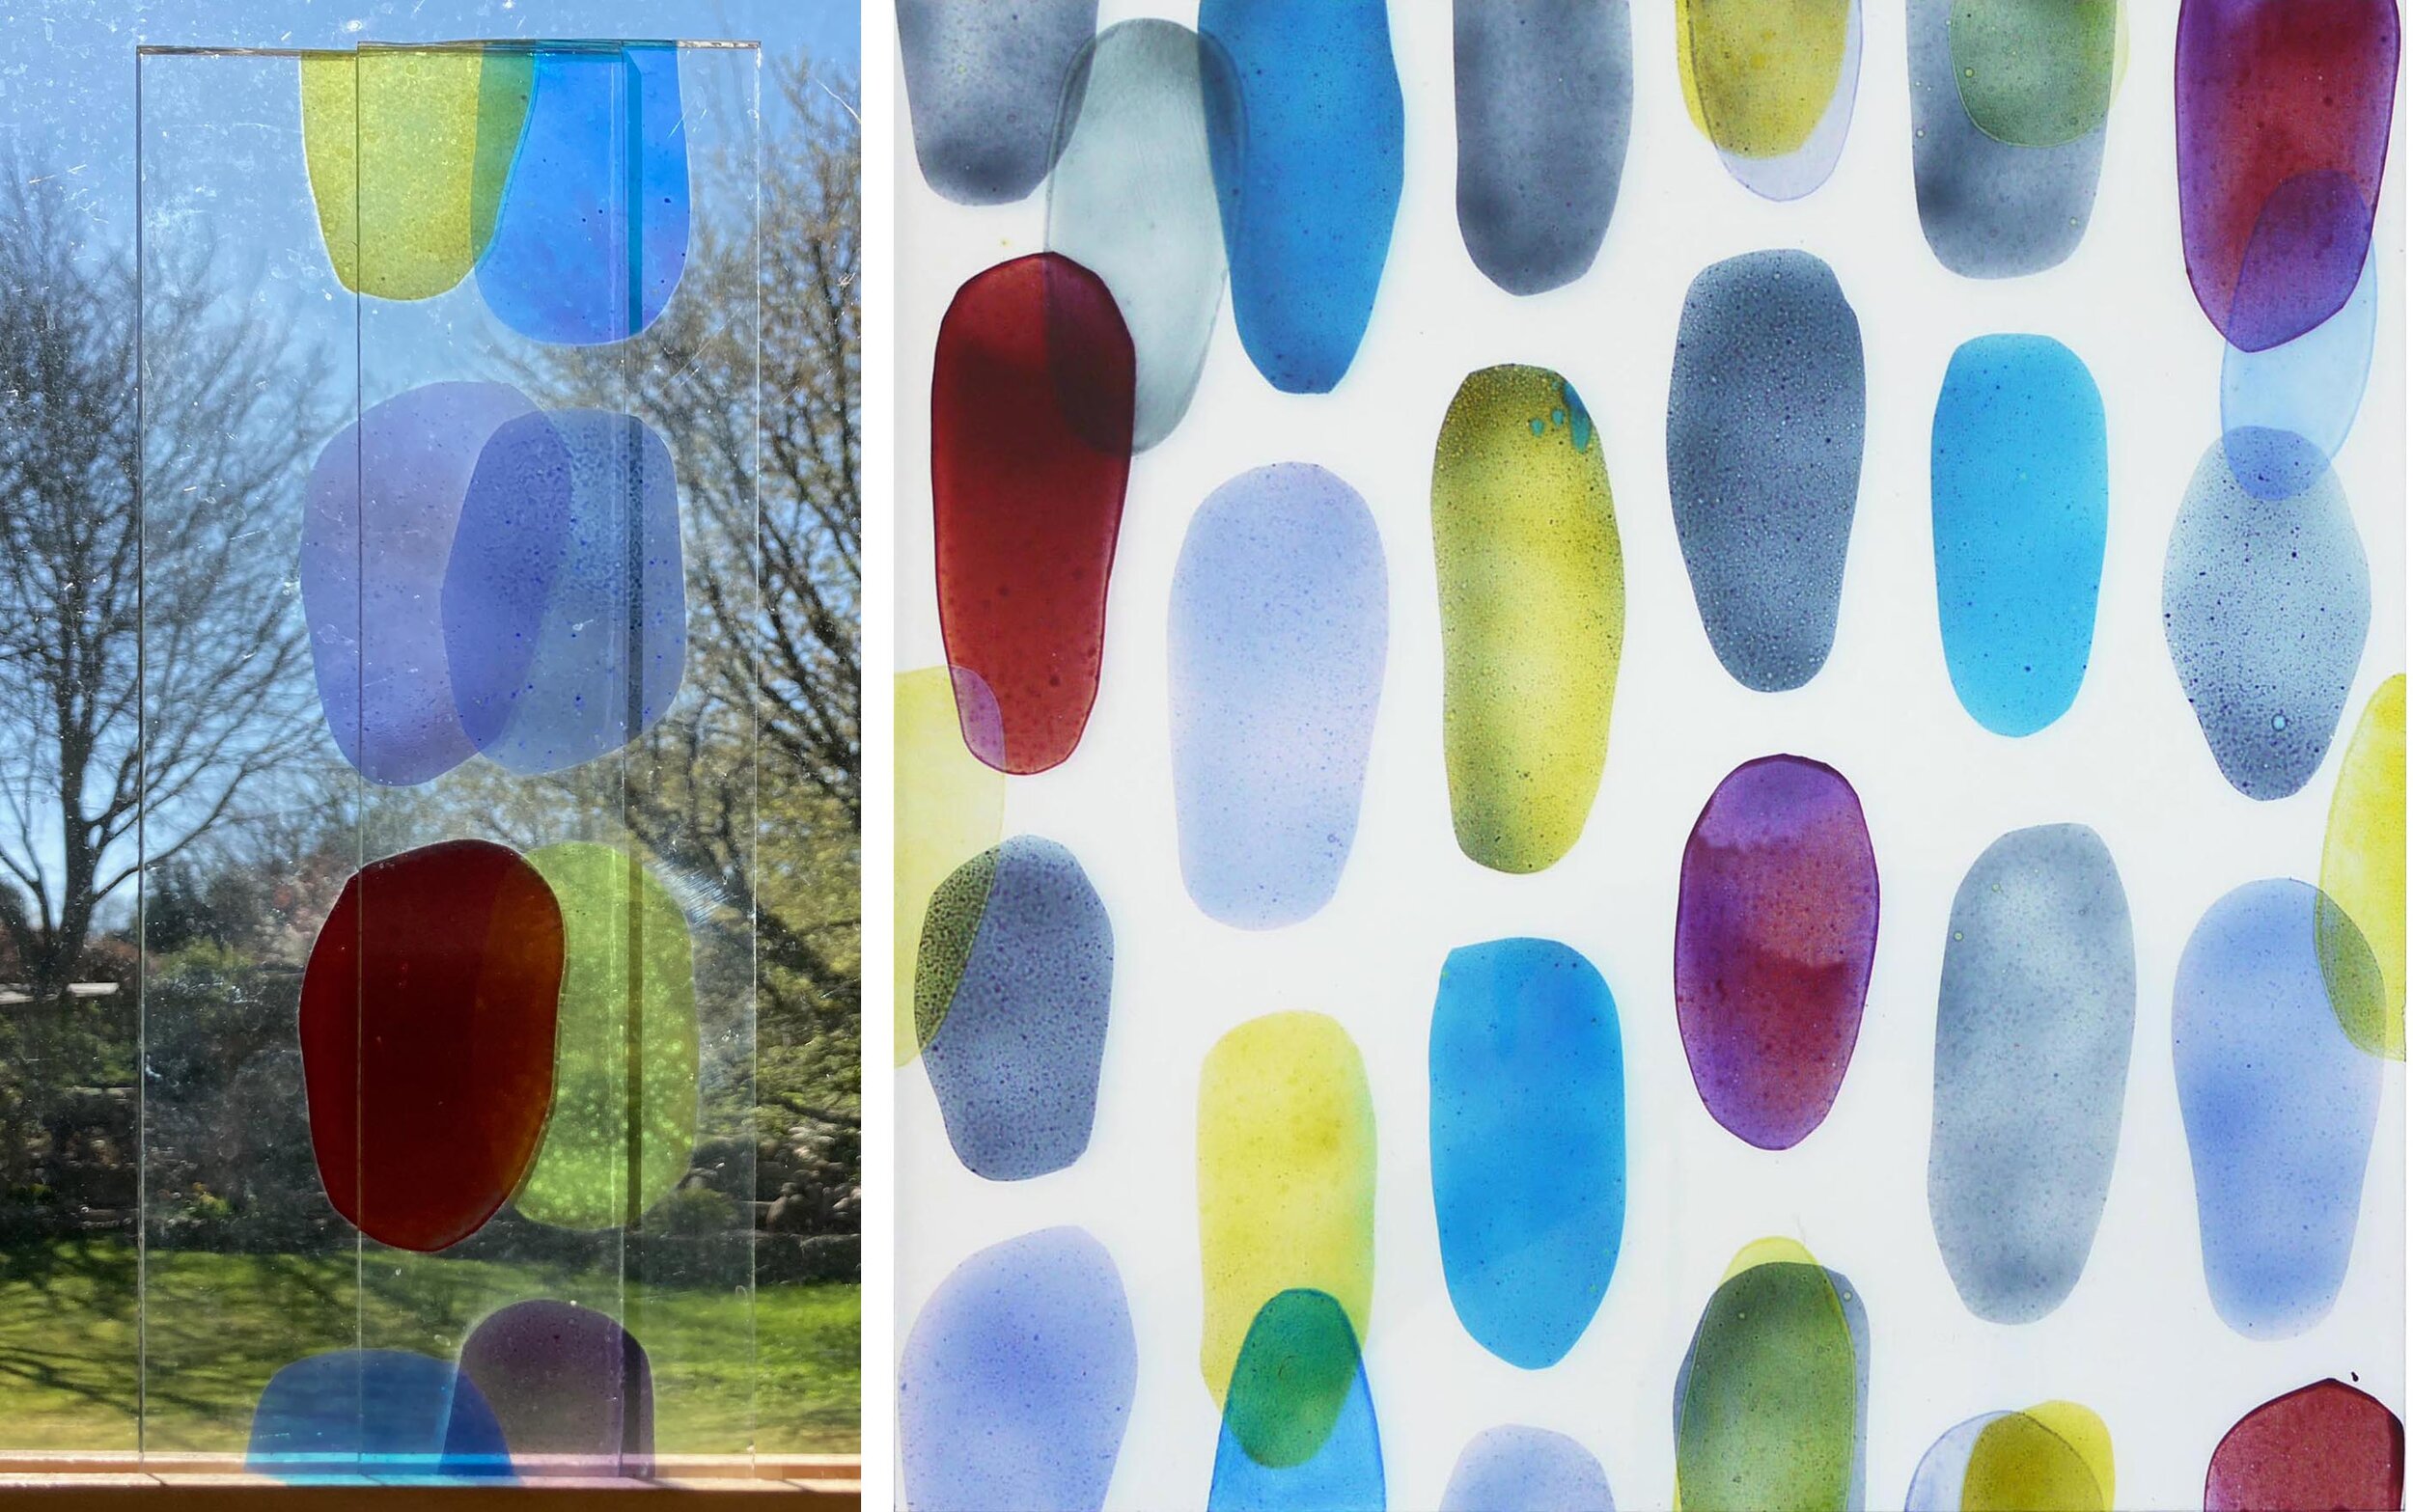
Scraps cut up and arranged to make scrap panels 1, 2 and 3.

My first idea was to make exuberant curved shapes with background pieces cut on the slant (scrap panel 1 above and below). The offcuts from the slanted pieces made an effortless triangle panel (scrap panel 2 above & below). I shouldn’t have been surprised that panel no 2 was so much better than panel no 1, as I wasn’t trying too hard - always a recipe for disaster. There was too much yellow in no 1, so panel no 3 (above right) was an attempt to deal with the yellow by making it the spine of the piece and using the colours in a more ordered way.

Scrap panels completed, top panels 1 & 2. Bottom panels 3 & 4.

The original format of panel no 3 looked very clumsy, so I cut it down to make a smaller panel no 3 (above right). Finally, to emphasise the original idea of the two enamel colours coming together on one piece, like a simple flag or landscape design, I made panel panel no 4 (above left) where the bands of complimentary colours frame other painted and sandblasted scraps from one of my many boxes of broken glass and sample pieces.

Bathroom Doors by Sasha Ward

Colour samples, screen printed and hand painted enamels.

When I meet a new client, I usually have the three glass samples shown above in my bag. I have made hundreds of these over the years as I experiment with the colour and texture of overlapping stripes of vitreous enamel and iron oxide on clear glass, but these three are somehow the best and most admired. On the latest occasion my client liked the samples so much that she wanted a design for the glass panels in two bathroom doors based on the idea of the colour sample.

Colour samples in my studio windows.

Once I’d worked out the best proportions for the horizontal and vertical bands on the tall thin door panels, I set to work on new sets of colour samples using an etched, therefore transluscent rather than transparent, glass. One set was based on a golden colour range, the other set needed to coordinate with the bathroom’s terracotta tiled walls and floor. It’s hard mixing transparent glass enamels to match a colour, particularly in the warm orange range where things easily go towards brown - as you can see in the nine samples for this project in my studio window (above right). As much as the amounts of each powdered enamel you put in the mix, the result is affected by how you apply the enamel, in this case I hand painted (as opposed to printing or spraying) to achieve the textures in the original favourite samples.

On the table (below left) you can see the glass on my lightbox with the vertical stripes fired on and the samples I’m trying to match above them. The finished panels (below right) show the second layer of horizontal bands in a contrasting but paler colour range of greys, greens and some blue.

Left, half done panels on the table. Right, two finished panels in the studio.

First floor bathroom door installed.

The panels are finished and installed before the rest of the rooms are ready - so fingers crossed for their safety while work goes on around them. Both sets of colours are good, not exactly the same as the samples of course, with some unexpected mixes and welcome blemishes. The best aspect of the painting is that I have kept the layers light and thin which is a good glass painting tip - it’s easier to add than to remove.

Second floor bathroom door installed.

New Window by Sasha Ward

Left, window before the stained glass. Right, melting glass in the kiln.

I have just installed a new window, the first one that uses the slab glass that I’ve been melting down in my kiln (above right). I’d put some of the pieces too close together so that they touched and fused together during the firing. These pieces happened to be the same combination of colours, peach and pale yellow, and when I put them next to each other they made a slightly butterflyish pair which became the basis for the new window design (below). From there, the window practically designed itself, the different sized and coloured pieces are arranged so they look as if they float up to the top.

Window design - Left, arranging the glass. Right, glass laid on top of the design.

Left, background pieces cut. Right, background pieces sandblasted.

The background is a blue green enamel, the colour of the edges of float glass, which I sandblasted off to create a halo around each coloured slab (above right). I then painted an approximation of each glass slab colour in enamel around each piece and in a ring over the blue green background (below), you get some unexpected results where the two colours of enamel overlap.

Details from top and bottom showing background pieces painted and fired.

New window installed, 1150 x 400 mm.

The new window (still without a title) looks good in its space, and according to its owner, as if it had always been there. People have said they are reminded of pairs of glasses, but as you can see in the detail below, the slabs are opaque and textured often with a block in the centre that is a record of the size of the original slab. The backgrounds are transparent, apart from the top which I’ve sandblasted to hide the eaves and the centre piece which covers the glazing bar - a feature of the original window which bothered me, but which has now become a vital part of the design.

Adding without ruining by Sasha Ward

Windows made from scrap pieces of glass are a stained glass staple. In churches old pieces are leaded together in a different formation to make new windows, and in my own work I have always used offcuts, samples and broken pieces to make patterned windows, patchwork style. However, most of the samples I make for larger commissions are on thicker glass with large scale designs, not great for chopping up but ideal as the first layer in a new piece of work.

Experiment 1 with drawing and collage on top, 500 x 260 mm

Experiment 1 with drawing and collage on top, 500 x 260 mm

Experiment 1 (above and below) started with a leftover computer cut stencil from a large scale project which I stuck on an old piece of float glass to try out a coarse sandblasting grit. The first bit of enamelling, the red and purple on the left, was another leftover, this time from a bit of very runny spray painting. After firing the effect was so nice that I added another layer, or maybe two, of hand painted enamel enjoying the way that the grainy texture on the glass affected the colours. I spent a long time after these unphotographed stages drawing, collaging and photoshopping to find shapes that would add to the composition, hiding the muddled sections, keeping the best parts and not ruining what I already had.

I like the finished piece so much that it’s still in my studio window months later. The four narrow windows that I added to the design were sandblasted out, then each filled with a different enamel colour with a lot of flux in the mix to make them very pale. What was underneath slightly comes through and the new enamel colours perfectly compliment the ones that were already there.

Experiment 1 completed and detail.

Experiment 1 completed and detail.

Experiment 2 in the window and on the light box, 470 x 450 mm

Experiment 2 in the window and on the light box, 470 x 450 mm

Experiment 2 (above and below) presented a different set of challenges. I had a large piece of glass where I’d tried out old glass enamels in rough ovals, there were some lovely qualities in the different enamel mixes but no overall shape to the composition. I decided to use it as the first layer of a new piece, 300 mm square, for the online exhibition of work by members (I’m a new one) of the British Society of Master Glass Painters as these marks and colours seemed to celebrate the joy of glass painting. I spent an even longer time on the next stage of this one, planning patterns around the shapes and additions to them inspired by the effect of the overlapping offcuts in my window (below left).

I know by now not to rush into things, I was very conscious that I mustn’t ruin the piece by interrupting the stillness at its centre. Instead I thought about the concept of tessellation and added more ovals where they were needed to make the tile roughly tessellate while creating just a few areas of overlapping colour. It looks much better on its own than when I did tesselate it as you can see below.

Experiment 2: Left, overlapping pieces.  Right and below, turned into a tessellating tile.

Experiment 2: Left, overlapping pieces. Right and below, turned into a tessellating tile.

blob 3.jpg

Here is a link to lots of great contemporary stained glass squares in the exhibition on the BSMGP website.

Bathroom Windows by Sasha Ward

This winter we’ve painted our hall spaces pinky grey, a colour that we chose to compliment the greens and oranges we had in our interiors. The hall is lit by a concealed strip light and although it looked fine as it was I thought I could add something more to the space by making a glass panel to cover it. You can see it installed with the light on and off below.

Left: All three windows with the lights on.  Right: Ceiling and door window with the lights off.

Left: All three windows with the lights on. Right: Ceiling and door window with the lights off.

The new panel had to go with the windows I’d made in 2005 for the house, two of which you can see at the same time as the new one (above left). For our own windows I’ve used intricate, geometric patterns - I see these windows as an opportunity to use favourite designs that didn’t quite fit in to the schemes I was working on at the time. The bathroom window has a pink/green/gold repeating circle which looks great from a distance (below left) and the door panels have pale blue flower/stars floating across olive green horizontal bands on an etched background. You can see how good these colours look with the lovely brown quarry tiles and red brick of the bathroom walls below.

Inside the bathroom - Left: window.  Right: door.

Inside the bathroom - Left: window. Right: door.

So for the new design I plotted out a flower/star design on a hexagonal grid, thinking of the central flower as a burst of light from the centre. Each point meets another point, but the geometry is not organised into a regular pattern. I wanted the colour to change in the middle as this panel is at a meeting point with a door to the left and the right, and I also wanted it to go with the plate that greets visitors to the spare room on the left which we bought from Rob Turner (below left). As usual the colours, which are transparent fired enamels made of a mix of different pigments, aren’t exactly as I’d planned, the yellow is not quite olive enough and the pink is too dark. However the window sits very well in its place, it’s nice to look up and see a few unexpectedly twinkly stars inside the house.

Outside the bathroom - Left: light on. Right: light off.

Outside the bathroom - Left: light on. Right: light off.

New ceiling panel, 210 x 620 mm.

New ceiling panel, 210 x 620 mm.